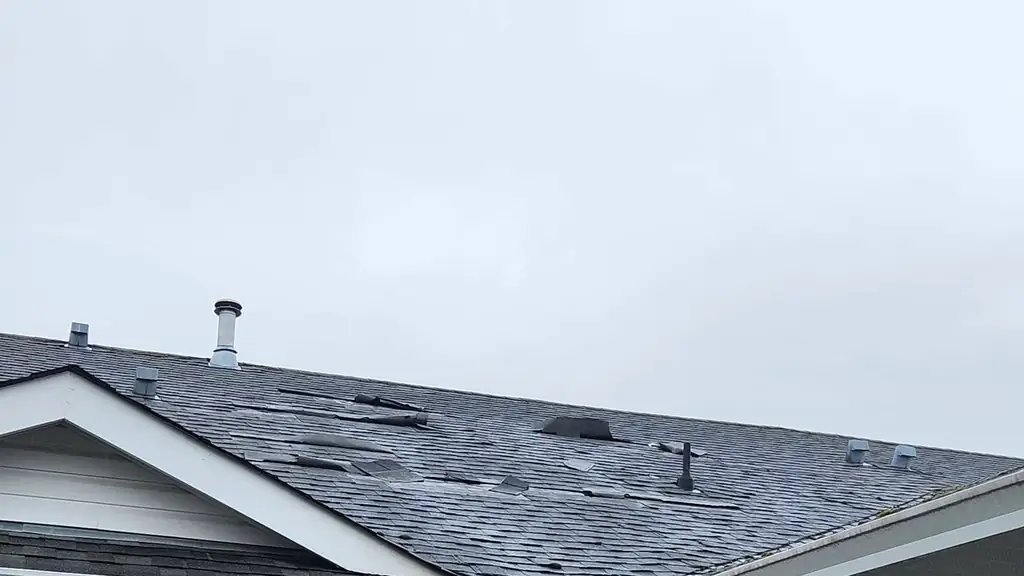
Last November, a windstorm ripped through the Fraser Valley at three in the morning. By six AM, my phone had eleven missed calls. By eight, Johnny and I were standing in a driveway in Chilliwack looking at a sixty-year-old cedar shake roof with a Douglas fir branch punched clean through the ridge. The homeowner was shaking. She had no idea what she was looking at, what was urgent, and what could wait. That conversation (standing in the rain, walking her through it piece by piece) is why I am writing this guide.
Johnny and I have assessed storm damage on ten years of roofs across the Fraser Valley since we started roofing in 2016. We came from the Alberta oil sands (Suncor, Syncrude, MEG Energy, CNRL Kearl Lake) where you learn to assess structural damage under pressure with zero room for guessing. That discipline is the backbone of every damage assessment we do. This is not a generic checklist. This is the exact process we follow, adapted for you to use safely from the ground.
Why Fraser Valley Storms Hit Roofs Differently
I have worked on roofs from Hope to Abbotsford, and every microclimate in this valley puts different stress on different materials. A storm that rolls through the canyon near Hope brings sustained wind that peels back flashing and ridge caps. That same system, by the time it hits Chilliwack, is dropping sideways rain that finds every gap in your step flashing. In Abbotsford, it is the combination of wind and saturated ground, trees come down because the soil cannot hold the roots.
- Hope and Yale: Canyon-funneled winds that focus on ridge caps, hip caps, and exposed metal flashing, gusts here regularly exceed what the rest of the valley sees
- Agassiz and Harrison: Lake-effect moisture plus heavy tree cover means debris impact and extended wet exposure after storms pass
- Chilliwack and Rosedale: Driving rain from the southeast exploits step flashing, wall-to-roof transitions, and aging caulking around vents
- Abbotsford and Mission: Wind-thrown trees and branches are the biggest threat, followed by hail during summer convective storms
Step One: The Perimeter Walk, What I Look for First
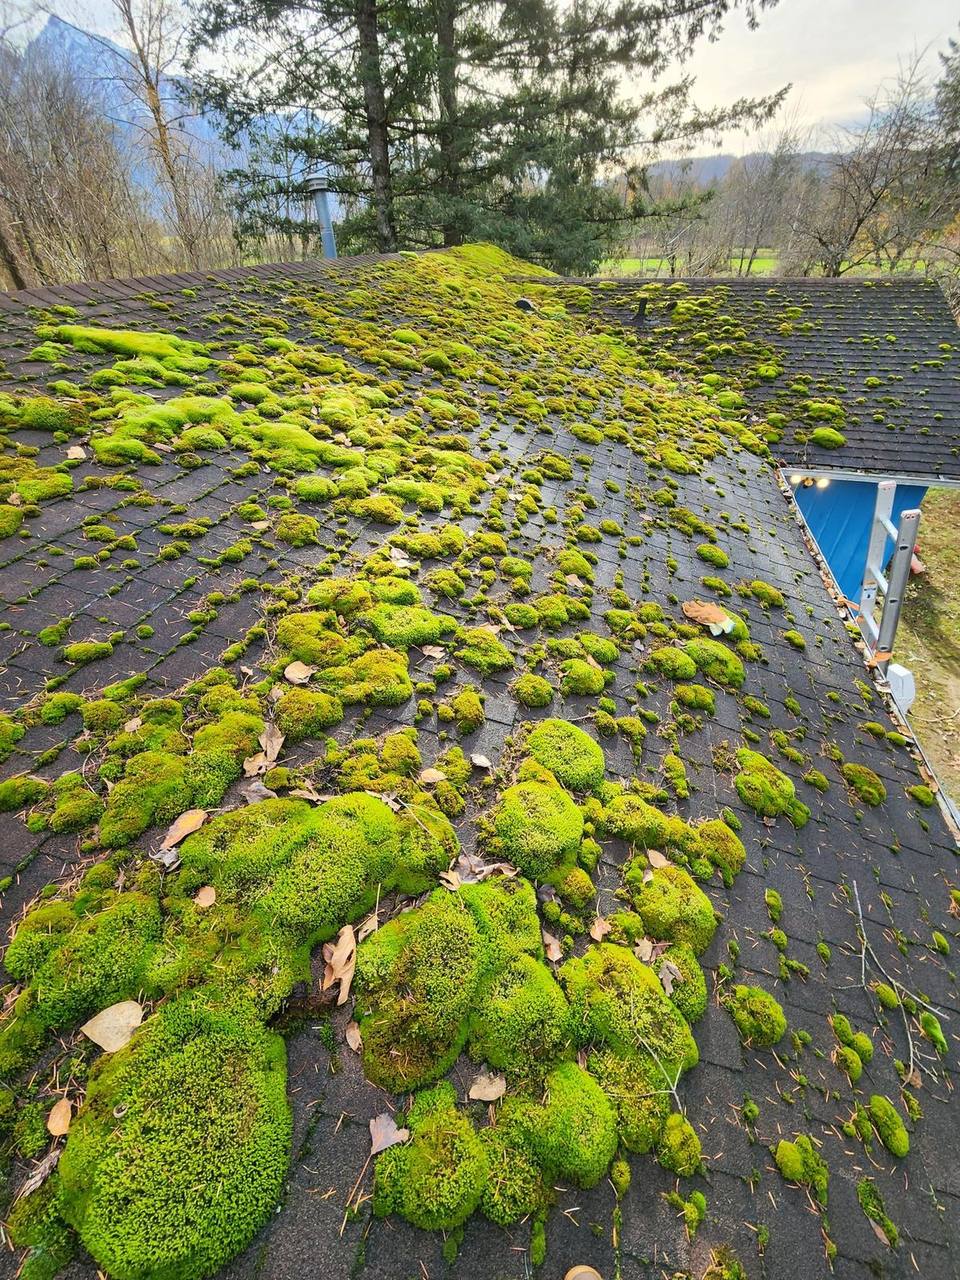
Before I ever look up at the roof, I walk the full perimeter of the house at ground level. Most homeowners skip this and go straight to staring at shingles. That is a mistake. The ground tells you half the story before you even raise your eyes.
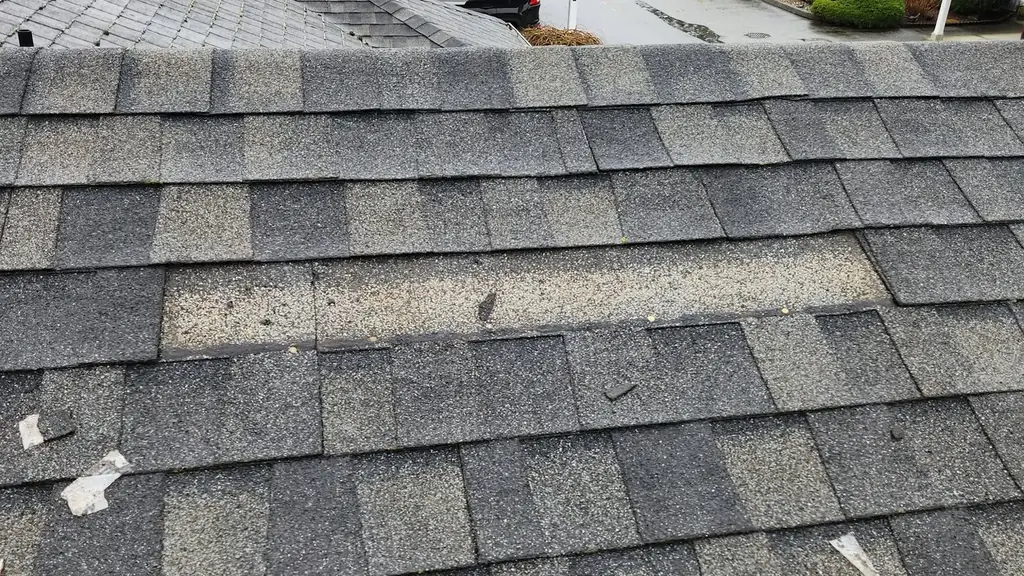
- Excessive granule loss on the ground, a small amount is normal after installation, but if granules are accumulating noticeably after a storm, your shingles took a beating and their UV protection is compromised
- Pieces of shingle, flashing, or ridge cap on the ground or in flower beds, photograph each piece next to a ruler or coin for scale
- Siding damage, cracked vinyl, or dented aluminum at the roofline, this tells you the wind direction and force, which helps predict where roof damage is worst
- Fascia board condition, if the fascia is pulled away from the rafter tails, wind got under the drip edge and likely lifted shingles above that section
- Fallen branches and the direction they fell, the fall direction tells you the wind direction, and the branches on the roof are usually from the same vector
Do not climb on your roof after a storm. Damaged shingles lose their grip, wet decking is slippery, and structural damage may be invisible from above. Every assessment in this guide is designed to be done from the ground or from inside your attic. If you need someone on the roof, call us.
Step Two: The Binocular Scan, Reading the Roof from Below
I keep a pair of compact binoculars in my truck at all times. Johnny laughs about it, but they have saved me from climbing onto sketchy roofs more times than I can count. You do not need expensive optics, any pair that lets you see individual shingles clearly from the ground works. Stand across the street or at a distance where you can see the full roof slope.
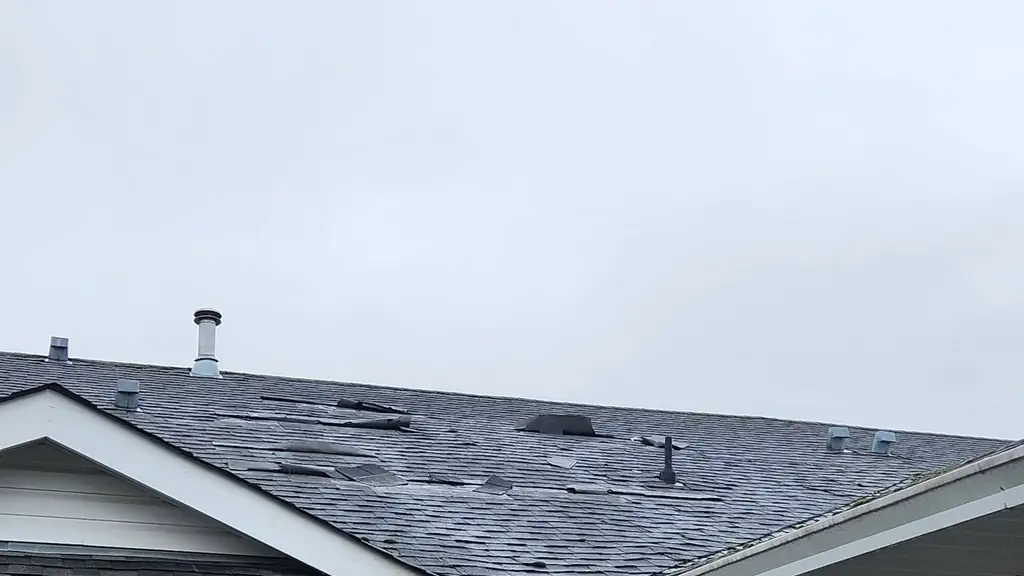
- Missing shingles, look for dark rectangular patches where the underlayment or bare decking is exposed. One missing shingle is a repair. A dozen missing shingles across multiple areas is a different conversation.
- Lifted or curled shingles, these catch light differently than flat shingles. Look for shadows where edges have lifted. In the Fraser Valley, wind-driven rain will find every lifted edge within one storm cycle.
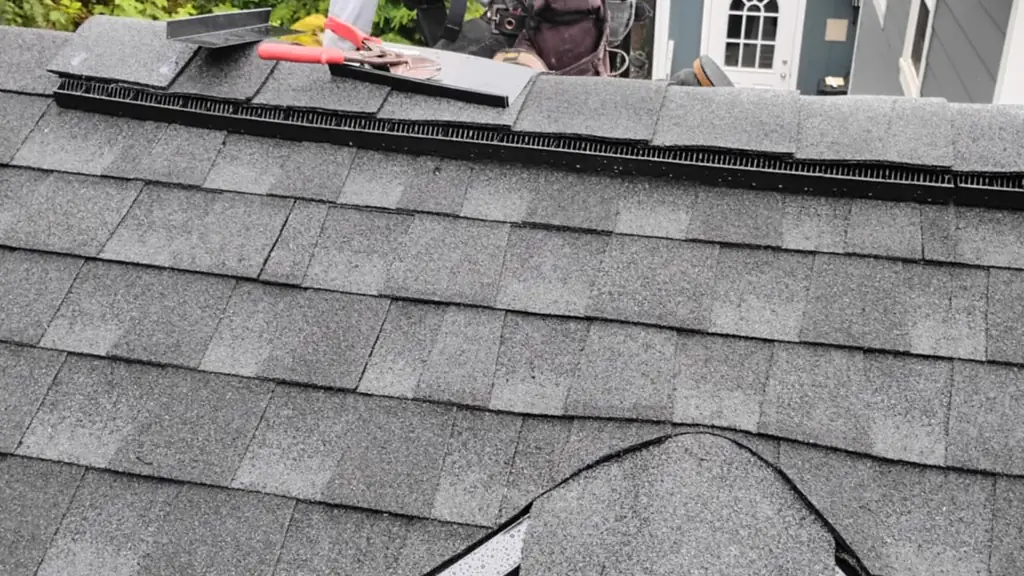
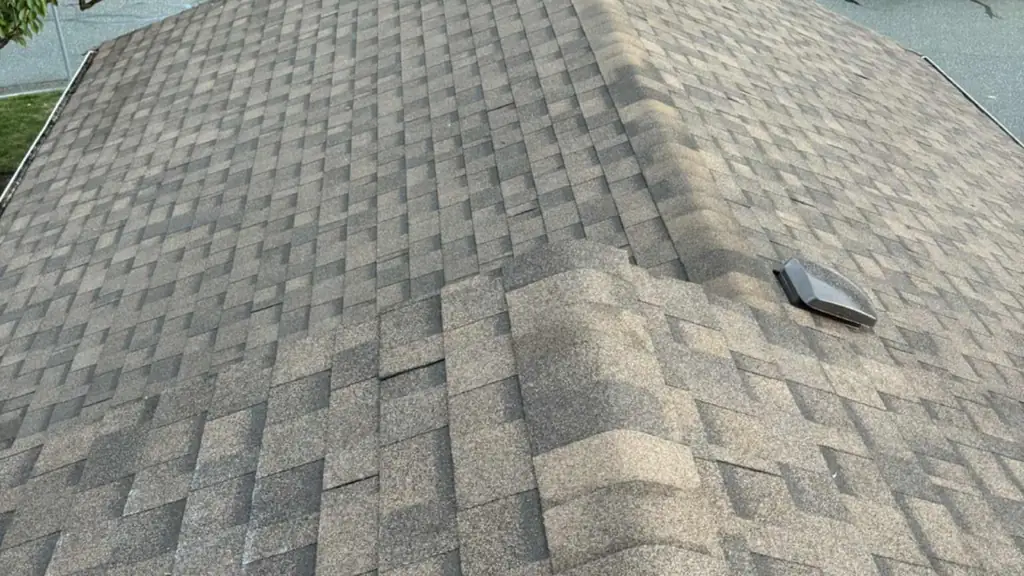
- Ridge cap and hip cap damage, the ridge line is the most wind-exposed part of your roof. Scan the entire ridge for gaps, missing caps, or sections that look uneven.
- Flashing around chimneys, skylights, and vents, look for bent, lifted, or missing flashing. Metal flashing that has pulled away from the brick or siding is an immediate leak risk.
- Sagging or dipping along the roofline, this is structural. If you see a dip or sag that was not there before the storm, do not go into the attic above that area until a professional has assessed it.
Step Three: Inside the Attic, What the Ceiling Cannot Tell You
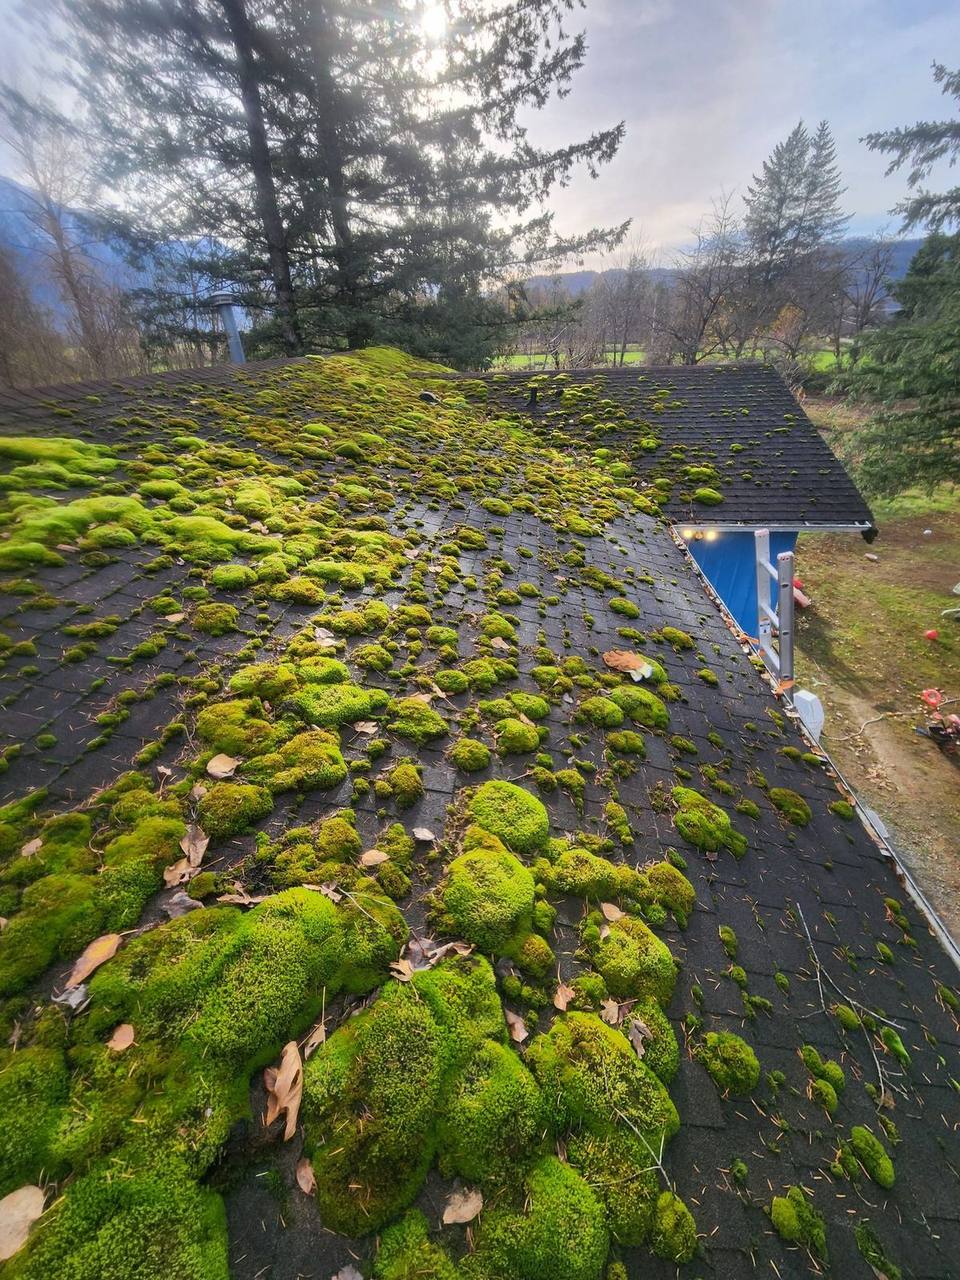
This is where most homeowners stop short, and it is the most important step. By the time water stains appear on your ceiling drywall, the damage has been happening for days or weeks. The attic shows you what is happening right now.
Go up during daylight. Bring a strong flashlight anyway, you will need it for the corners and eave areas. Here is what I look for, in order:
- Daylight pinholes through the decking, turn off your flashlight and let your eyes adjust. Tiny points of light mean the shingles and underlayment have been breached. Mark these spots with painter's tape so the repair crew can find them from above.
- Wet or damp insulation, touch the insulation in multiple areas. Wet fiberglass insulation compresses flat and feels cold. Wet blown-in insulation clumps. Either one means water is getting in.
- Water tracking stains on rafters and sheathing, water rarely drips straight down from the breach. It runs along rafters, sometimes traveling six or eight feet before dripping. Follow the stain upstream to find the actual entry point.
- Mold or dark discoloration, fresh mold after a storm means this area has been getting wet for a while, and the storm made it worse. This is not just a roof problem anymore, it is a remediation conversation.
- Cracked or split rafters, if a heavy branch hit the roof, check the rafters in that area for cracks or splits. A cracked rafter under load is a structural emergency.
Johnny taught me this one: bring a piece of chalk into the attic. Circle every wet spot, stain, or daylight pinhole you find. When the repair crew opens up the roof from outside, those chalk marks save hours of searching. Simple, but it works every time.
Step Four: Documenting Damage for Insurance, The Oil Field Way
In the oil sands, every incident gets documented like a court case. That discipline carried straight into how we handle roof damage documentation. Your insurance adjuster was not standing in the rain at six AM, your photos and notes are your evidence. Do it right the first time.
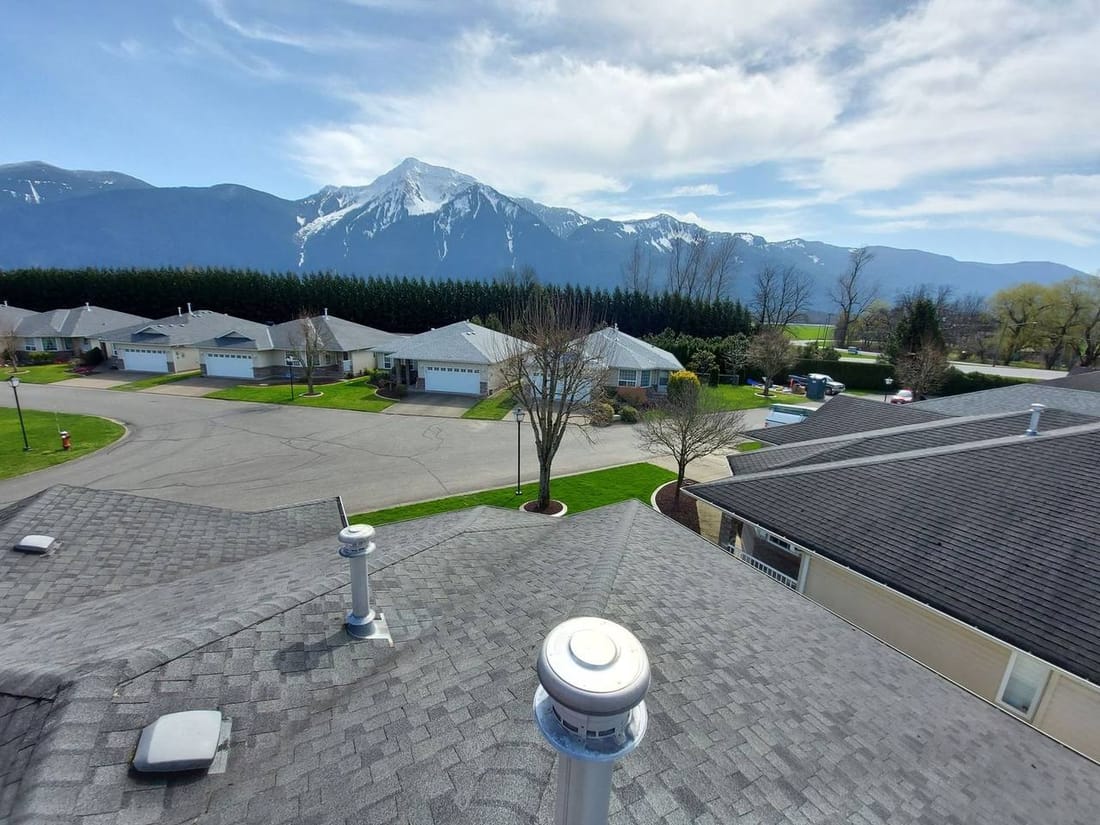
- Photograph everything with your phone's timestamp visible, wide shots of each elevation, then close-ups of each damaged area. Include at least one photo showing the full house so the adjuster can orient the damage.
- Take video walkthroughs narrating what you see, "This is the north elevation, taken at 7 AM on November 15th. You can see three missing shingles above the bathroom window and the step flashing is bent away from the wall." Adjusters love narrated video.
- Document undamaged areas too, this proves the damage is localized and storm-related, not the result of general neglect. If your south slope is perfect and your north slope is destroyed, that tells a clear wind-direction story.
- Save weather reports and Environment Canada warnings for the date of the storm, screenshot them or print to PDF. These corroborate your claim timeline.
- Keep every receipt from day one, emergency tarps, buckets, plywood, contractor estimates. Even a $12 tarp receipt from Home Hardware in Chilliwack is evidence of your effort to mitigate further damage, which most policies require.
The Damage Decision Matrix, Repair vs Replace vs Emergency
After ten years of roofs, Johnny and I have a pretty clear framework for sorting damage into three buckets. This is not a substitute for a professional assessment, but it helps you understand the conversation when a roofer shows up.
- Emergency, needs action within 24 hours: Active leaks into living space, structural damage visible from inside (cracked rafters, sagging decking), large penetrations from fallen trees, or exposed decking with rain in the forecast. Call Fraser Roofing at 604-728-0146 immediately.
- Repair, can wait days to weeks: Fewer than 15 missing or damaged shingles in one area, minor flashing displacement, small amounts of granule loss, single damaged vent boot or pipe collar. Schedule an inspection within the week.
- Full assessment needed, could go either way: Widespread granule loss across multiple slopes, ridge cap damage along more than half the ridge, multiple flashing failures, roof age over 20 years with storm damage on top. This needs a professional on the roof with measurements and photos before anyone commits to a plan.
What Makes Fraser Valley Storm Damage Sneaky
I will be honest about something most roofers will not tell you: the worst storm damage in the Fraser Valley is not the obvious stuff. The missing shingles, the tree through the roof, those get fixed fast because everyone can see them. The sneaky damage is what ruins homes.
Wind-driven rain in our valley does not fall straight down. It blows sideways at 15 to 20 degrees off vertical. That means it gets behind J-channel, under drip edge, and into wall-to-roof transitions that were never designed for horizontal water. A storm can drive moisture into your wall cavity through a gap that is invisible from both inside and outside the house. Three months later, you smell mold and nobody can figure out where it is coming from.
That is why we follow up on every post-storm inspection with a second check 30 days later. Free of charge. If wind-driven rain found a path into your building envelope, it will show itself within a month if we know where to look.
Frequently Asked Questions About Roof Damage Assessment
Fraser Roofing provides free post-storm roof inspections across the entire Fraser Valley, from Hope to Abbotsford. Kory and Johnny Peters bring oil field discipline and ten years of experience to every assessment. Call 604-728-0146 or email johnny@fraserroofing.ca. Last updated: February 2026.