How to Install Roof Ventilation in the Fraser Valley
Balanced Attic Ventilation for BC's Wettest Climate — Ridge Vents, Soffit Intake, and Condensation Prevention
Last updated: February 2026
SAFETY WARNING
Installing roof ventilation requires cutting through the roof deck. Mistakes cause immediate leaks and structural damage.
- Cutting roof deck creates an immediate water entry point — never start on a day with rain in the forecast
- Power tools on steep slopes are extremely dangerous — falls are the leading cause of roofing injuries
- Improper installation voids shingle manufacturer warranties
- Unbalanced ventilation makes condensation problems worse, not better
- Ridge cuts that are too deep compromise structural ridge boards
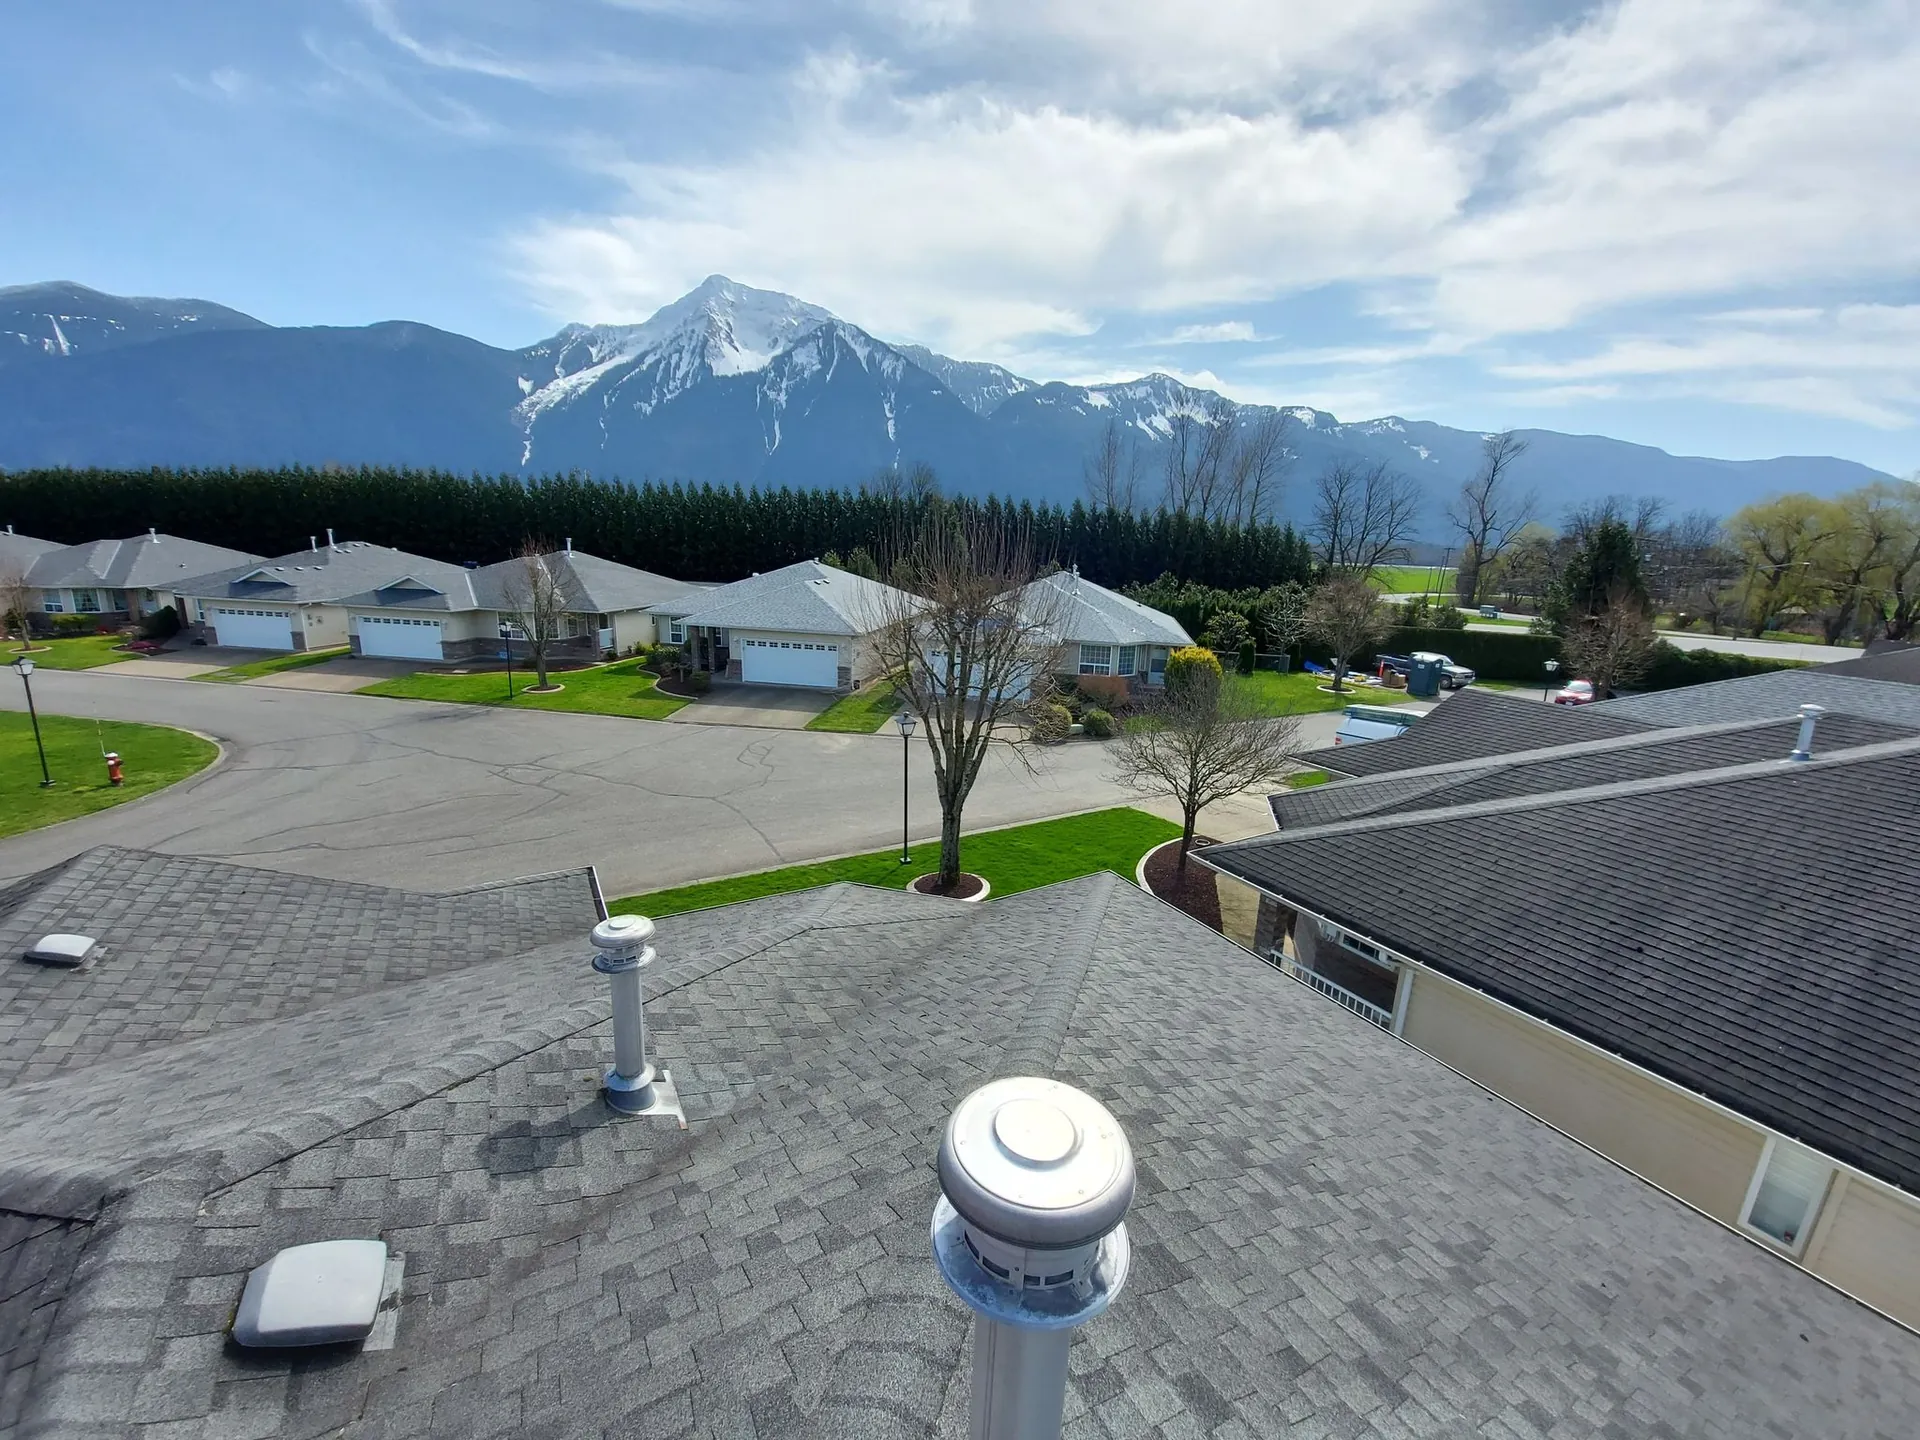
Why Ventilation Matters More in the Fraser Valley
The Fraser Valley gets 1,500 to 2,000 mm of rain per year, with winter relative humidity regularly sitting between 80% and 95%. That constant moisture puts extreme pressure on every attic in the region. Without balanced ventilation, warm indoor air migrates upward through ceiling penetrations — light fixtures, plumbing stacks, attic hatches — and condenses on the cold underside of the roof deck. The result is frost, mold, plywood delamination, and shingles that fail years before their rated lifespan.
After completing over 500 roofs throughout the Fraser Valley since 2026, Kory Peters and Johnny Peters at Fraser Roofing Ltd. have seen the damage firsthand. Attics in Agassiz, Harrison Hot Springs, and Rosedale are especially prone because of their proximity to rivers and lakes, which push local humidity even higher than the regional average.
What proper ventilation prevents:
- Premature shingle failure — heat buildup in unvented attics bakes shingles from below, causing curling, cracking, and granule loss 5-10 years early
- Attic condensation and mold — the Fraser Valley's humidity means mold can colonize unvented attic sheathing within 2-3 winters
- Ice dams — warm, unventilated attics melt snow on the roof surface, which refreezes at the eaves and backs water under shingles
- Plywood delamination — persistent moisture separates the layers of OSB and plywood decking, compromising structural integrity
- Voided warranties — every major shingle manufacturer (IKO, CertainTeed, BP, GAF) requires adequate attic ventilation as a warranty condition
The 1:300 Rule — and Why the Fraser Valley Needs More
The BC Building Code establishes a minimum ventilation ratio: 1 square foot of net free ventilation area (NFA) for every 300 square feet of attic floor space, split evenly between intake and exhaust.
Example Calculation for a Typical Fraser Valley Home
- Attic floor area: 1,500 sq ft
- Required NFA (1:300): 1,500 / 300 = 5 sq ft of ventilation
- Intake (soffit vents): 2.5 sq ft minimum
- Exhaust (ridge/roof vents): 2.5 sq ft minimum
- Fraser Valley recommendation: add 10-15% = 5.5-5.75 sq ft total NFA
That 10-15% buffer matters here. Homes in low-lying areas near the Fraser River, Cheam Wetlands, or Harrison Lake face ambient humidity levels that are measurably higher than the BC average. Kory and Johnny have pulled mold-covered decking out of attics that technically met the 1:300 minimum — the code is a floor, not a ceiling.
Ventilation Types: Intake vs. Exhaust
A ventilation system has two components: intake at the bottom of the roof (soffit) and exhaust at the top (ridge). Air enters through the soffit vents, flows up the underside of the roof deck, and exits through the ridge. This continuous airflow removes heat and moisture from the attic space.
Intake Ventilation (Soffit — Bottom of Roof)
- Continuous soffit vents — perforated or slotted panels that run the full length of the eave; best NFA-per-foot ratio and most effective option
- Individual soffit vents — circular or rectangular vents cut into solid soffit panels; cheaper to retrofit but provide less total NFA
- Drip edge vents — ventilated drip edge profiles used when soffit space is too narrow for traditional vents
Exhaust Ventilation (Ridge/Roof — Top of Roof)
- Ridge vents (recommended) — continuous low-profile vents along the ridge; best airflow distribution, no moving parts, no operating cost
- Gable vents — louvered openings in gable end walls; acceptable but less effective than ridge vents for whole-attic ventilation
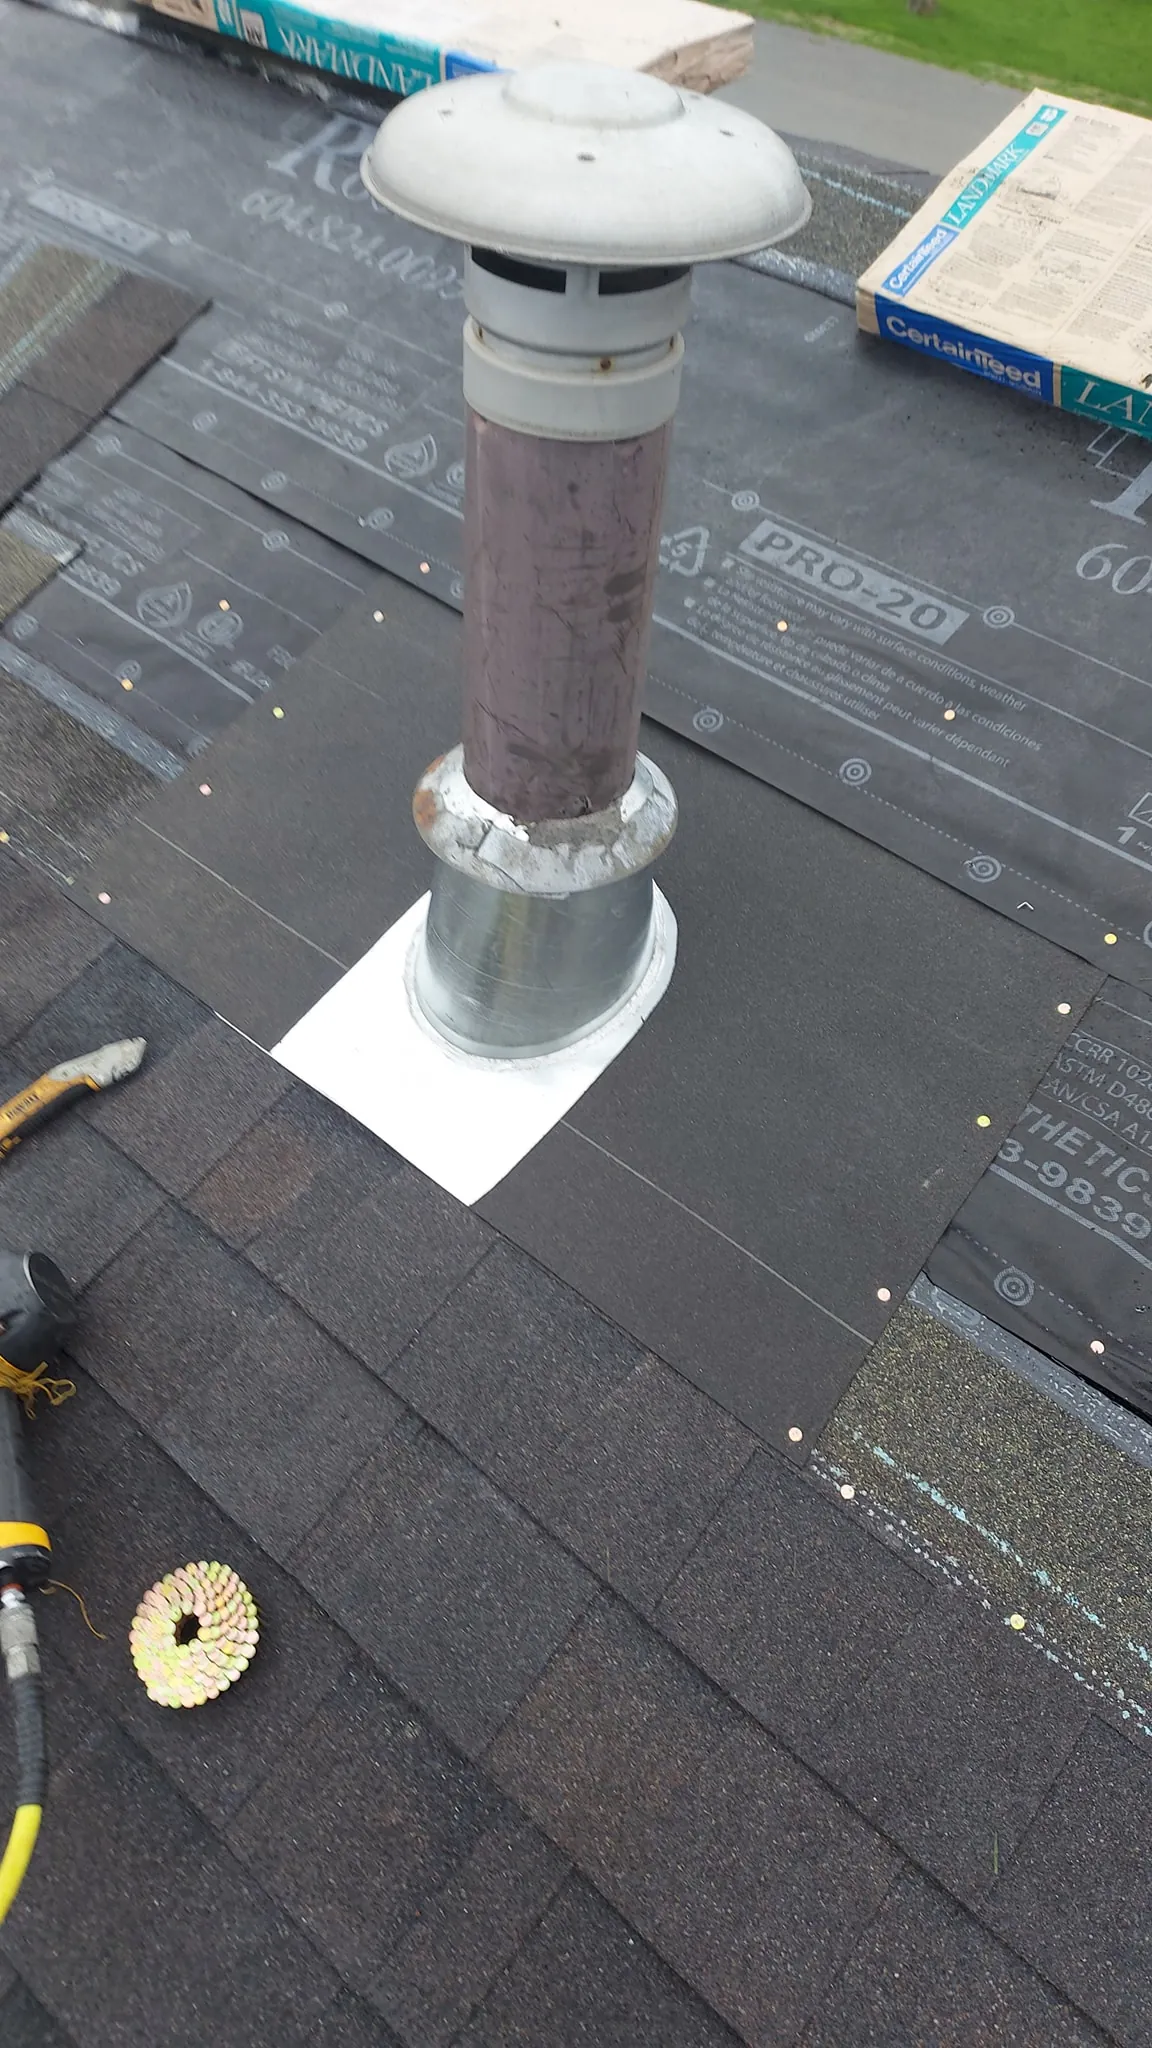
- Static roof vents — individual box or mushroom vents on the roof slope; useful for hip roofs or supplemental exhaust
- Turbine vents — wind-driven spinning vents; effective but noisy and prone to bearing failure
- Powered attic fans (not recommended) — electric fans that can create negative pressure, pulling conditioned air out and humid outside air in; in the Fraser Valley, they often make condensation worse
Do Not Mix Exhaust Types
Using ridge vents AND gable vents together causes short-circuiting — air flows from soffit to gable, bypassing the ridge and leaving the upper attic unventilated. Choose one primary exhaust type and stick with it.
Before You Start
Skill level: Intermediate to Advanced
Time required: 4-8 hours for a complete ridge vent and soffit system
Cost (materials only): $500-$1,500 CAD depending on roof size and vent type
Professional installation: $1,500-$3,500 CAD — included in every Fraser Roofing Ltd. reroof
Tools Required
- Reciprocating saw or jigsaw (for cutting roof deck and soffit)
- Circular saw (for cutting the ridge slot)
- Drill with assorted bits
- Utility knife
- Tape measure
- Chalk line
- Pry bar
- Hammer or pneumatic roofing nailer
- Caulk gun
- Staple gun (for baffles)
Materials Needed
- Ridge vent (length of ridge minus 12 inches)
- Soffit vent panels (continuous) or individual soffit vents
- Attic baffles / rafter vents (one per rafter bay at the eave)
- Ridge cap shingles
- Roofing nails (stainless steel or hot-dip galvanized)
- Roofing cement / sealant
- Static roof vents (if additional exhaust is needed for hip roof sections)
Step 1: Calculate Ventilation Requirements
- Measure attic floor area: Length x width = total square footage. For multi-section attics, measure each section separately
- Apply the 1:300 rule: Total sq ft / 300 = minimum NFA in square feet
- Add Fraser Valley buffer: Multiply the minimum NFA by 1.10 to 1.15 for the extra humidity load
- Split 50/50: Half the NFA for intake (soffit), half for exhaust (ridge)
- Select products and calculate quantities: Check manufacturer specs for NFA per linear foot (ridge vent) or NFA per unit (soffit vents). Divide your required NFA by the per-unit NFA to get the quantity needed
Step 2: Install Soffit Vents (Intake)
Intake always comes first. Without adequate soffit ventilation, exhaust vents cannot create proper airflow. In the Fraser Valley, we regularly find attics where a ridge vent was added but soffit vents were never opened — creating zero functional airflow.
Continuous Soffit Vents (Recommended)
- Remove existing solid soffit panels from the underside of the eave
- Cut ventilated soffit panels to size — these have perforated sections that allow airflow
- Install panels by nailing or screwing to the fascia and wall plate
- Verify from the attic that airflow paths are clear into each rafter bay
Individual Soffit Vents (Retrofit Option)
- Mark vent locations — centre each vent between rafters, evenly spaced along the full eave
- Cut openings using a jigsaw or hole saw
- Install vents with screws or nails
- Seal edges with exterior-rated caulk to prevent water entry
Install Attic Baffles (Critical for Fraser Valley Homes)
Baffles are the most overlooked component in attic ventilation. Without them, blown-in insulation drifts into the eave and blocks soffit vents entirely. Kory and Johnny find blocked soffits on roughly 40% of the Fraser Valley homes they inspect — it is the single most common cause of attic condensation in the region.
- Position one baffle per rafter bay at the eave end of the attic
- Staple the baffle to the underside of the roof deck so it creates a channel from the soffit vent opening into the attic space
- Extend the baffle past the top plate of the exterior wall — at least 24 inches into the attic
- Push insulation back from the soffit area so it does not obstruct the baffle channel
Step 3: Install Ridge Vent (Exhaust)
CRITICAL: Check Weather Before Starting
Cutting the ridge opens the attic to the sky. In the Fraser Valley, rain can roll in within hours. Have tarps, a helper, and ridge vent material staged and ready before making the first cut. Do not start this step if there is any chance of rain within 4 hours.
- Remove ridge cap shingles along the entire ridge length
- Snap chalk lines 1 inch from ridge centre on each side, creating a 2-inch wide slot
- Set circular saw depth to match the roof deck thickness only — typically 7/16" for OSB or 1/2" for plywood
- Cut along both chalk lines — do NOT cut through the structural ridge board beneath the deck
- Stop cuts 6 inches from each end of the ridge to maintain structural integrity
- Remove the cut deck strip with a pry bar, exposing the attic
- Centre the ridge vent over the opening and nail it down according to the manufacturer's fastener pattern (typically every 12 inches)
- Install ridge cap shingles over the ridge vent with proper overlap and seal end caps with roofing cement
Step 4: Install Roof Vents (Hip Roofs or Supplemental Exhaust)
Not every roof has a ridge long enough for adequate exhaust. Hip roofs, dormers, and multi-section rooflines may need static roof vents to supplement or replace a ridge vent.
- Mark vent locations — high on the roof slope, as close to the ridge as possible, evenly spaced
- Remove shingles in a 12-inch radius around the vent location
- Cut the deck opening to match the vent throat size using a reciprocating saw
- Position the vent with its upper flange sliding under the shingles above
- Nail the vent flange to the roof deck
- Reinstall shingles over the vent flange on the top and sides; the bottom flange sits on top of the shingles below
- Seal all nail heads and flange edges with roofing cement
Step 5: Verify Balanced Airflow
An unbalanced system is worse than no system at all. If exhaust significantly exceeds intake, the vents pull air through gaps in the ceiling instead of through the soffits, dragging warm moist interior air directly into the attic.
- Calculate total intake NFA — add up the NFA ratings of all installed soffit vents
- Calculate total exhaust NFA — add up ridge vent, static roof vent, and any gable vent NFA
- Confirm balance — intake should equal or slightly exceed exhaust (a 60/40 intake-to-exhaust ratio is acceptable; 40/60 is not)
- Monitor after installation — check attic temperature and humidity during the first heating season. A properly ventilated attic should stay within a few degrees of outdoor temperature in winter
Fraser Valley Condensation: The Specific Challenge
Condensation is the number one attic problem in the Fraser Valley. The combination of high outdoor humidity, insulated ceilings, and cold winter roof decks creates the perfect environment for moisture accumulation. Here is what Fraser Roofing Ltd. addresses on every ventilation project:
Winter Moisture Management
- Continuous airflow from soffit to ridge keeps the roof deck cold and uniform, preventing warm spots that attract condensation
- Baffles at every rafter bay ensure insulation does not creep into the eave and seal off intake — this single detail prevents more attic mold than any other intervention
- Sealing ceiling penetrations (pot lights, plumbing stacks, attic hatches) reduces the volume of warm humid air entering the attic in the first place
- R-50 insulation combined with proper ventilation creates a cold attic that stays dry all winter
Summer Heat Reduction
- Unventilated attics in the Fraser Valley can exceed 65 degrees Celsius (150 degrees Fahrenheit) during summer heat waves
- That heat radiates through the ceiling into the living space, increasing cooling costs
- Balanced ventilation typically reduces peak attic temperature by 10-20 degrees Celsius
- Lower attic temperatures also slow UV degradation of shingle materials from the underside
Ice Dam Prevention
- Proper ventilation keeps the entire roof deck at a uniform cold temperature
- A cold deck prevents mid-roof snowmelt, which is what causes ice dams at the eave
- Ventilation must be paired with adequate insulation — one without the other is insufficient
- The combination of R-50 insulation, continuous soffit intake, and ridge exhaust eliminates ice dam risk in all but the most extreme conditions

Common Mistakes to Avoid
1. Blocked Soffit Vents
The most common problem. Blown-in insulation drifts into the eave and seals off the soffit vents. Always install baffles. Check existing baffles during every attic inspection.
2. Imbalanced Intake and Exhaust
Adding a ridge vent without opening the soffits creates negative pressure in the attic. The ridge vent pulls air through ceiling gaps instead, dragging humid interior air directly into the cold attic space and accelerating condensation.
3. Mixing Exhaust Types
Installing ridge vents on a roof that already has gable vents creates a short circuit. Air flows from the soffit to the gable vent and never reaches the ridge. Remove or seal gable vents when installing ridge vents.
4. Cutting Too Deep at the Ridge
The ridge board is structural. Cutting through it weakens the roof frame. Set your circular saw depth to match the deck thickness exactly and verify with test cuts before committing to the full ridge.
5. Relying on Powered Attic Fans
In the Fraser Valley's wet climate, powered fans can pull humid outside air into the attic through soffit vents, saturating attic air with moisture. Combined with air-conditioned interior spaces below, this creates condensation on ductwork and ceiling surfaces. Passive ventilation (ridge + soffit) works better and costs nothing to operate.
Annual Ventilation Maintenance
- Inspect soffit vents for blockages — paint overspray, debris, wasp nests, and spider webs are common in the Fraser Valley
- Check ridge vent for lifting, cracking, or separation from the roof surface
- Verify baffles from inside the attic — confirm they are in place, not crushed, and that insulation has not shifted over them
- Look for condensation signs — water stains, frost, mold spots, or musty odours in the attic space
- Clear any debris from the ridge vent filter mesh, especially after fall leaf season

When to Call a Professional
Soffit vents and baffles are manageable for a confident DIYer. Ridge vent installation — cutting a continuous slot at the highest point of the roof with a circular saw — is where most homeowners should stop and call in professionals. The risk of a botched cut, a fall, or an improper seal is high, and the consequences include immediate leaks, voided warranties, and structural damage.
At Fraser Roofing Ltd., balanced ventilation is part of every roof we install — not an add-on or upsell. Kory and Johnny Peters have installed ventilation systems on over 500 Fraser Valley homes since founding the company in 2026. Ridge vents with full soffit intake and baffles at every rafter bay. We verify the 1:300 rule is met (and exceeded where conditions demand it) before signing off on any job.
Need Expert Help With Your Roof?
Kory & Johnny have completed 500+ roofs across the Fraser Valley since 2026. Free inspections, honest estimates, no pressure.
(778) 860-4747Serving Hope, Agassiz, Chilliwack, Rosedale, Abbotsford & the entire Fraser Valley
Need ventilation installed, upgraded, or assessed? Call (778) 860-4747 — free inspections for Fraser Valley homeowners from Hope to Abbotsford.
Frequently Asked Questions
Why is roof ventilation especially important in the Fraser Valley?
The Fraser Valley receives 1,500-2,000 mm of annual rainfall with winter humidity between 80-95%. Without balanced ventilation, moisture migrates through the ceiling and condenses on cold roof deck surfaces, causing mold, plywood delamination, and premature shingle failure. We have seen visible frost on attic roof decks in Agassiz and Harrison within two winters of ventilation failure.
What is the 1:300 ventilation rule and does it apply in BC?
The 1:300 rule requires 1 sq ft of net free ventilation area for every 300 sq ft of attic floor space, split 50/50 between intake and exhaust. It is the BC Building Code minimum. In the Fraser Valley, Fraser Roofing Ltd. recommends exceeding this by 10-15% to handle the elevated moisture loads, especially near rivers and in low-lying areas like Agassiz, Rosedale, and Harrison.
Can I install roof ventilation myself or should I hire a professional?
Soffit vents and baffles are manageable for experienced DIYers. Ridge vent installation involves cutting a continuous slot at the peak of the roof with a circular saw — mistakes cause immediate leaks and void shingle warranties. Fraser Roofing Ltd. includes balanced ventilation in every reroof at no extra charge. Call (778) 860-4747 for a free assessment.
Should I use ridge vents or powered attic fans?
Ridge vents paired with soffit intake are the gold standard — continuous passive ventilation with zero operating cost. Powered fans can create negative pressure that pulls conditioned air from your living space and draws humid outside air into the attic in the Fraser Valley's wet climate, worsening condensation rather than solving it.
How do I know if my attic ventilation is failing?
Warning signs include frost or condensation on the underside of the roof deck in winter, musty attic smells, visible mold on rafters or sheathing, curling or blistering shingles, ice dams along the eaves, and an attic that is significantly hotter than outdoor temperature in summer. In the Fraser Valley, plywood delamination and mold growth can appear within 3-5 years of ventilation failure.