How to Inspect Your Roof: Lessons from 500+ Fraser Valley Inspections
Practical methods we use on every job — adapted for homeowners who want to stay ahead of problems
Last updated: February 2026
Between us, Kory and Johnny have climbed onto more than 500 roofs across the Fraser Valley since founding Fraser Roofing Ltd. in 2026. Before that, we spent years working as Red Seal Boilermakers in the oil sands — a background that taught us to inspect industrial systems where a missed crack meant catastrophic failure. When we pivoted to residential roofing, we brought that same discipline: systematic, thorough, and never assuming anything looks "fine" from the ground.
This guide distills what we have learned from those 500+ inspections into a process any Fraser Valley homeowner can follow. You will not need to climb onto your roof for most of it. But you will need to be systematic — because the difference between a $300 repair and a $12,000 re-roof almost always comes down to whether someone noticed a problem six months earlier.
Why the Fraser Valley Demands More Frequent Inspections
We are not in the Okanagan. The Fraser Valley between Hope and Abbotsford receives 1,200 to 2,000 mm of rain annually depending on location. Agassiz and Harrison Hot Springs sit at the wetter end of that spectrum. This volume of water, combined with our mild temperatures that encourage biological growth, creates conditions that age roofs faster than provincial averages. A roof rated for 25 years in Alberta may only deliver 18-20 years here without proper maintenance and early problem detection.
Our recommended inspection schedule reflects this reality:
- Late March to mid-April — after winter storms have finished but before spring growth explodes. This is your most important inspection of the year. Winter wind, ice, and persistent moisture do the most damage, and you want to catch it early.
- Late September — before the rainy season begins in earnest. This is your preparation inspection. Clear debris, check flashing, and address anything that could fail under five straight months of rain.
- After any major storm event — windstorms above 70 km/h, hail, heavy snow loads, or extended freezing. The Fraser Valley does not get dramatic weather often, but when it does, roofs take hits.
- When buying or selling a home — an objective inspection before a real estate transaction protects both parties and can save tens of thousands in surprise repairs.
Step 1: The Ground-Level Perimeter Walk
Every inspection we perform starts the same way: we walk the full perimeter of the property with our eyes on the roofline. You do not need a ladder for this step. Grab a pair of binoculars with at least 8x magnification and start at the front of your home. Work clockwise. Take your time — this step alone catches about 40% of the problems we find.
What you are scanning for:
- Ridge line silhouette — stand far enough back to see the full ridge. It should be straight and level. A sag, dip, or wave in the ridge means structural support underneath has failed, rotted, or shifted. This is never cosmetic — it is a serious finding that warrants immediate professional evaluation.
- Roof plane evenness — each section of roof between ridges, hips, and valleys should be smooth and uniform. Wavy or buckled areas indicate deck delamination (the plywood sheeting under your shingles is failing) or rafter issues.
- Shingle uniformity — missing shingles are obvious, but also look for colour variations. Dark patches may indicate moss. Light patches may indicate granule loss. Raised edges mean wind lift or failed adhesive strips.
- Valley debris — valleys are the channels where two roof planes meet and water concentrates. They should be clear. Debris accumulation traps moisture and accelerates deterioration of valley flashing and underlayment.
- Chimney and wall transitions — from the ground, you can spot missing counter flashing (the metal piece embedded in the mortar joints), cracked caulking, and gaps where water enters behind the step flashing.
Step 2: Gutter and Drainage Assessment
Gutters are the canary in the coal mine for roof health. They collect evidence of what is happening on the roof surface above. In the Fraser Valley, where annual rainfall pushes gutter systems to their limits, this assessment is critical.
- Granule accumulation — scoop out a section of gutter. Some granule loss is normal, especially on newer roofs or after heavy storms. What is concerning is a thick layer of granules that looks like coarse sand. This means the protective ceramic coating on your shingles is eroding. Heavy granule loss on a roof under 15 years old suggests manufacturing defects or ventilation problems accelerating shingle aging.
- Flow test — run a garden hose at the highest point of your gutter system. Water should flow freely to each downspout and exit at the base. Slow drainage indicates slope issues or blockages. Overflowing gutters saturate fascia boards and can drive water behind your siding.
- Fascia board condition — pull back a section of gutter (carefully) and look at the fascia behind it. Soft, spongy, or discoloured wood means water has been sitting against it. This is extremely common in the Fraser Valley and often indicates either gutter overflow or missing drip edge.
- Downspout termination — downspouts should discharge water at least 6 feet from your foundation. In the Fraser Valley, we see basements and crawl spaces flood when downspouts dump water right at the footing. This is not a roof problem per se, but it shows up during inspections constantly and is a quick fix.
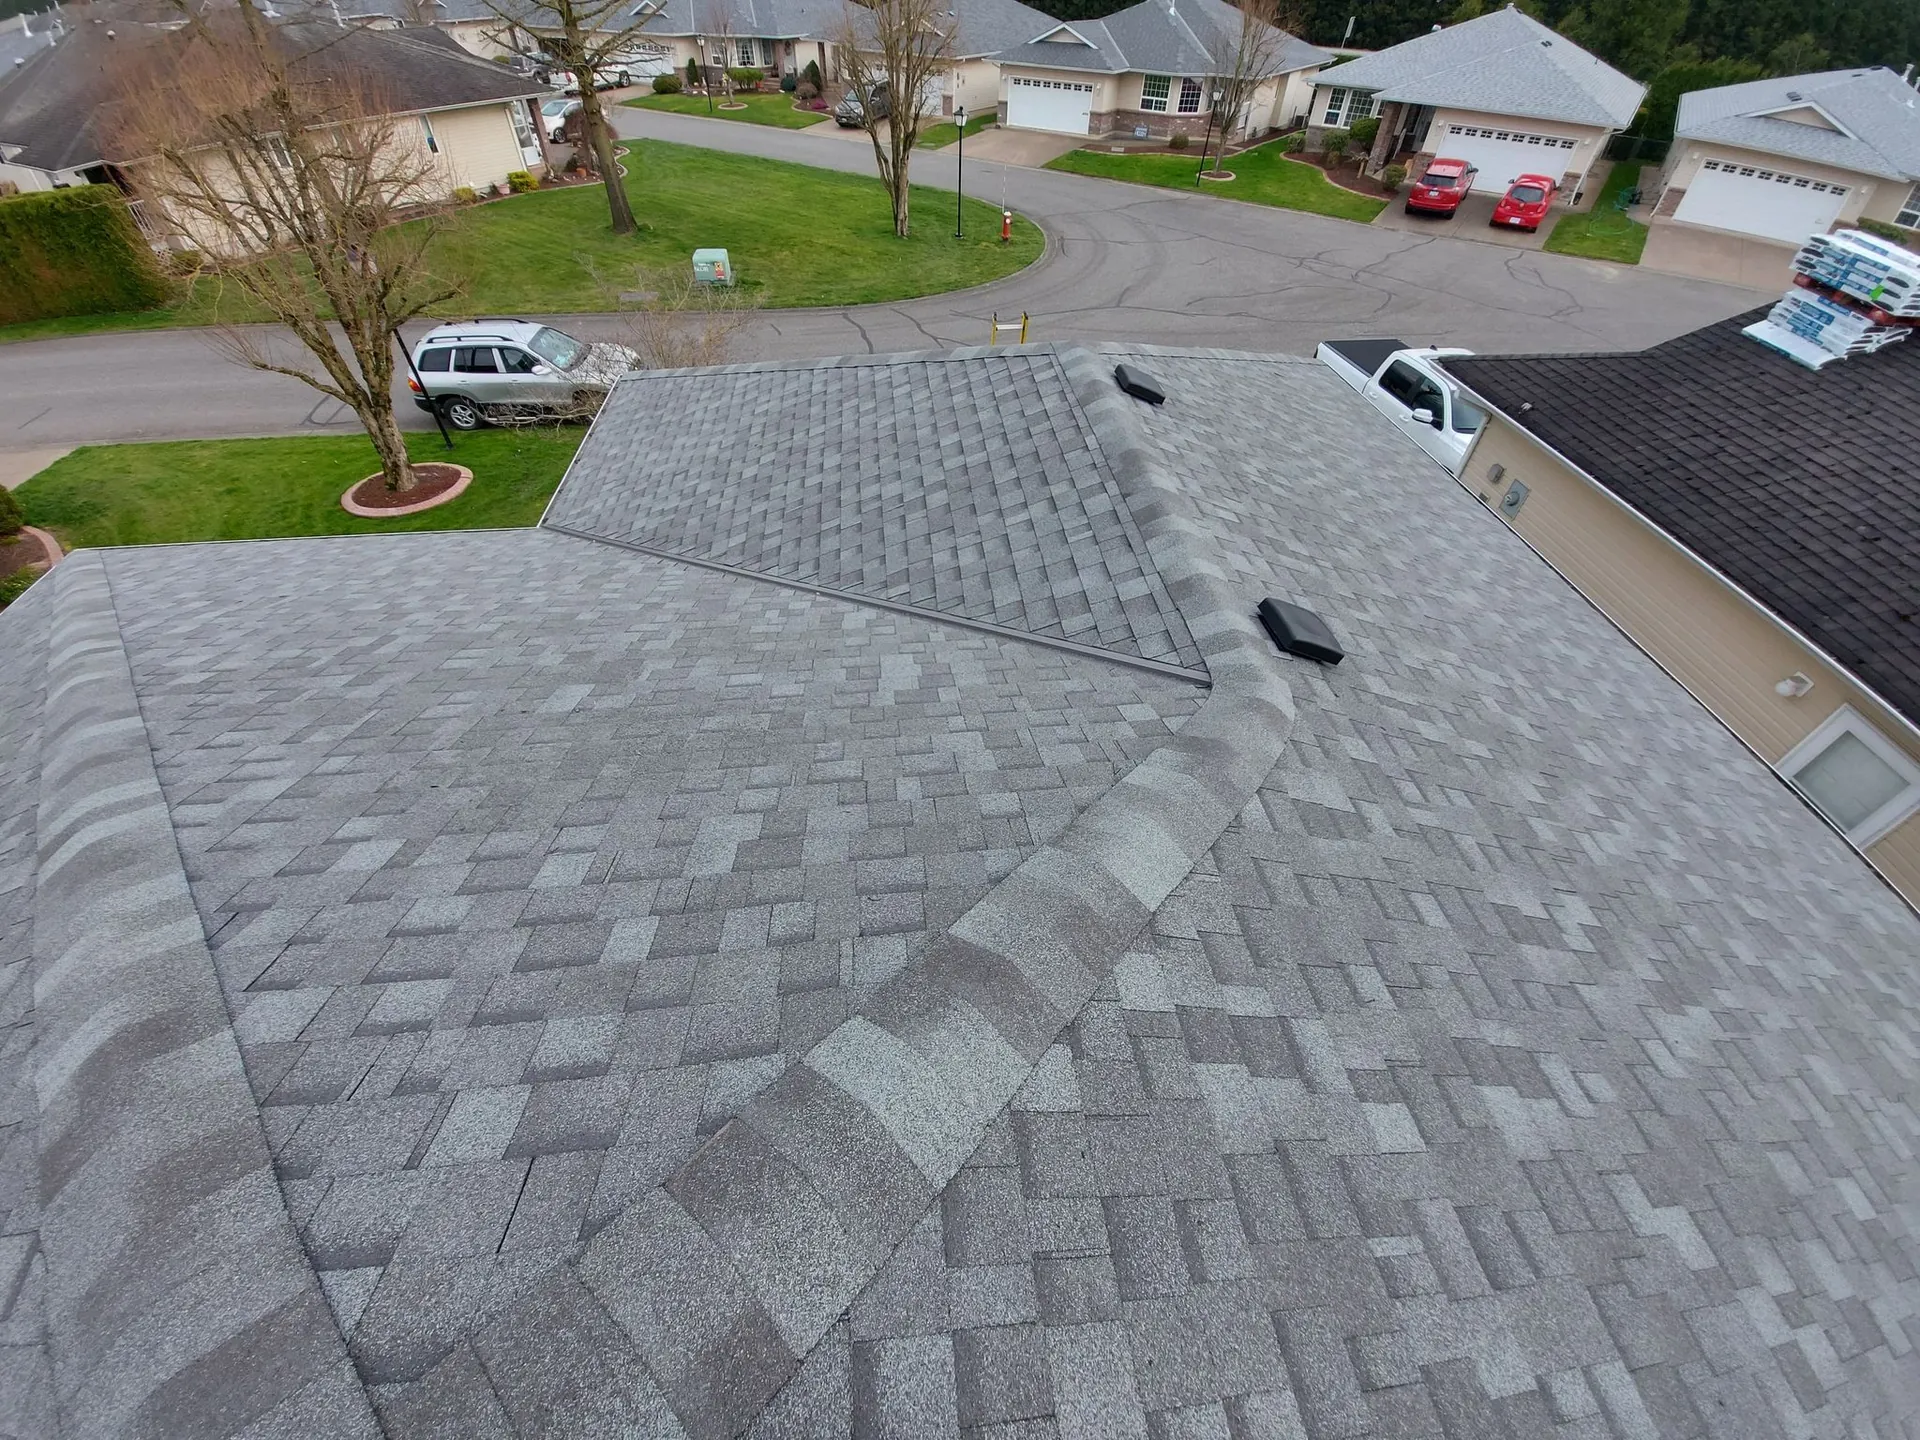
Step 3: Roof Surface Inspection
Safety Warning
Do not walk on your roof if the pitch is steeper than 6:12 (roughly 26 degrees), if the surface is wet or frost-covered, if there is visible moss (it is as slippery as ice), if you are alone, or if you are uncomfortable at any point. Most of what you need to find can be seen from the ground and attic. A fall from a single-storey roof can cause life-altering injuries. If your roof requires walking, call a professional — our inspections are free.
If your roof is safe to access — low pitch, dry, clear of moss, and you have proper footwear and someone aware you are up there — here is what to look for:
Shingle condition indicators:
- Curling — shingle edges that turn upward (cupping) or downward (clawing). Both indicate aging, but cupping specifically points to moisture underneath the shingle, which is common in our climate. Cupping shingles become wind-vulnerable because the raised edge catches air.
- Cracking — hairline cracks across the shingle face result from thermal cycling. Our Fraser Valley temperature swings are moderate compared to the prairies, but freeze-thaw cycles still occur 30-50 times per winter at higher elevations near Hope. Cracking allows water intrusion directly into the mat of the shingle.
- Blistering — raised bubbles on the shingle surface, sometimes with the granule layer intact on top. Blisters form when moisture gets trapped in the shingle during manufacturing or when poor attic ventilation drives excessive heat into the roof deck. In our area, ventilation-related blistering is the more common cause.
- Nail pops — when the heads of roofing nails push upward through the shingle, creating small raised bumps. This is caused by thermal expansion of the deck, improper nailing depth, or deck movement from moisture cycles. Each nail pop is a potential water entry point.
- Adhesive strip failure — the self-sealing tar strip on each shingle bonds tabs together to resist wind lift. In the Fraser Valley, we sometimes see these strips fail to bond on roofs installed during cool, overcast weather because they need solar heat to activate. Run your hand along shingle tabs — they should be firmly sealed to the course below.
Penetration points — the highest risk areas:
Roughly 80% of roof leaks we repair originate at penetration points, not in the field of the roof. Every pipe, vent, or fixture that passes through the roof surface is a potential failure point.
- Plumbing vent boots — rubber boots around plumbing pipes are the single most common leak source we see. The neoprene rubber degrades from UV exposure and cracks after 8-12 years. When it cracks, water runs straight down the pipe into your home. Squeeze the rubber — it should be pliable. If it cracks when you squeeze it, replacement is overdue.
- B-vents and gas appliance exhausts — these require storm collars and proper flashing. Check that the storm collar sits tight against the pipe and the surrounding flashing is sealed to the shingle field.
- Satellite dish mounts and antenna brackets — these create screw holes in the roof deck. Check for sealant deterioration around each fastener point. We see a surprising number of leaks from abandoned satellite mounts where the original sealant has dried out.
Step 4: Flashing — Where Most Leaks Start
Flashing is the metal (usually aluminum or galvanized steel) that waterproofs the transitions between your roof and everything that intersects it — walls, chimneys, valleys, and edges. After inspecting hundreds of roofs, we can say with confidence: flashing problems cause more expensive damage than any other single category of roof failure.
Chimney flashing:
Chimneys have two layers of flashing that work together. Step flashing consists of L-shaped pieces woven into each shingle course along the chimney sides. Counter flashing sits on top, embedded into the mortar joints of the chimney masonry, overlapping the step flashing to shed water outward. Check for:
- Counter flashing that has pulled out of mortar joints (extremely common as mortar ages)
- Caulk used instead of proper counter flashing (a code violation and guaranteed future leak)
- Corroded or missing step flashing pieces
- Cricket or saddle behind the chimney (chimneys wider than 30 inches should have one to divert water)
Valley flashing:
Valleys handle the highest concentration of water flow on your roof. In Fraser Valley rainfall, a single valley might channel thousands of litres during a heavy storm. We see two main valley types:
- Open valleys with exposed metal flashing — check for corrosion, holes, debris dams, and proper overlap (the metal should extend at least 4 inches beyond the centreline on each side)
- Closed-cut valleys where shingles overlap across the valley — check that the cut line is straight, at least 2 inches from the centreline, and that no fasteners penetrate through the valley metal underneath
Drip edge:
Drip edge is the metal strip at the eaves and rakes (sides) of your roof that directs water into the gutter and protects the fascia. Missing drip edge is one of the most underrated problems we encounter — it allows water to wick back under the shingle edge by capillary action. BC Building Code requires drip edge on new installations. Many older Fraser Valley homes are missing it entirely.

Step 5: Moss, Algae, and Organic Growth
This section could be titled "Living in the Fraser Valley" because organic growth on roofs is nearly universal here. Between Agassiz and Hope, we see moss on the majority of roofs we inspect — particularly north-facing slopes, sections shaded by trees, and lower-pitch areas where moisture lingers.
Understanding the progression:
- Algae (Gloeocapsa magma) — appears as dark streaks or staining. This is cosmetic rather than structural. It feeds on the limestone filler in asphalt shingles. While ugly, algae alone does not typically damage shingles.
- Lichen — the circular, crusty organisms that attach firmly to the shingle surface. Lichen is harder to remove and can leave pitting in the granule layer when scraped off. It indicates long-term moisture exposure.
- Moss — the real concern. Moss holds moisture against the shingle surface 24/7. Its root structures (rhizoids) penetrate under shingle edges and physically lift them, breaking the adhesive bond and creating channels for water to enter. Heavy moss growth can shorten shingle life by 5-10 years.
What to check during inspection:
- Is moss growing only on the surface, or has it penetrated under shingle tabs?
- Can you see raised shingle edges where moss roots have forced their way underneath?
- How thick is the moss layer? Thin surface moss is manageable; thick mats over 1 inch deep need professional treatment.
- Are zinc or copper strips present at the ridge? These release metal ions during rain that inhibit moss growth — if your roof had them and they are corroded or missing, moss growth will accelerate.
Step 6: The Attic Inspection
We tell every homeowner the same thing: your attic tells you more about your roof's condition than the roof surface does. Water follows gravity, but not always in obvious ways. A leak that enters at the ridge can travel along a rafter for 10 feet before dripping onto insulation — the stain you see in the attic may be far from the actual entry point. Here is how to make the most of an attic inspection.
What you need: A bright flashlight or headlamp, a phone camera, and the willingness to crawl around carefully on joists (never step between joists — you will go through the ceiling).
Systematic attic check:
- Roof deck underside — scan every section of the plywood or OSB deck with your light. Water stains appear as dark discolouration, often with concentric rings showing repeated wetting. Fresh moisture appears shiny. Old stains are darker and dull.
- Daylight penetration — turn off your flashlight. Any pinpoint of daylight visible through the deck means a hole, which means water entry. Common around old antenna mounts, removed skylights, and chimney transitions.
- Mold assessment — dark spots or fuzzy growth on the underside of the deck or on rafters indicates persistent moisture. In the Fraser Valley, some attic mold is common in poorly ventilated homes, but active black mold on more than 10-15% of the deck surface warrants professional remediation and a ventilation overhaul.
- Insulation condition — wet or compressed insulation has lost its thermal value. Check especially at the eaves where ice dam melting can soak batts, and around any penetration pipes where leaks are most likely.
- Ventilation assessment — can you see daylight through the soffit vents? Are soffit baffles installed to keep insulation from blocking intake? Is the ridge vent open (you should be able to feel air movement near the ridge on a breezy day)? Balanced ventilation — equal intake at soffits and exhaust at the ridge — is the single most important factor in attic health.
Fraser Valley ventilation reality:
Over 60% of the attics we inspect in the Fraser Valley have insufficient ventilation. The building code calls for 1 square foot of net free ventilation area per 150 square feet of attic floor space (or 1:300 with a vapour barrier and balanced intake/exhaust). Most older homes — especially those built before the 1990s — fall well short of this. Under-ventilated attics trap moisture from the living space below, creating condensation on the cold roof deck that mimics a leak but is actually a ventilation failure.
Step 7: Documenting Your Findings
Documentation is what separates a useful inspection from a walk around your yard. We photograph and log every issue on every roof we inspect, and we recommend homeowners do the same. Here is why it matters and how to do it right.
Why documentation matters:
- Tracking deterioration — a cracked shingle this spring might be three cracked shingles by fall. Without photos from the first inspection, you cannot measure how fast damage is progressing.
- Insurance claims — insurance companies want evidence of the condition before the damage event. If you can show your roof was in good condition before a windstorm, your claim is vastly stronger.
- Warranty support — manufacturer warranty claims require documentation of the issue and proof of maintenance. Regular inspection records demonstrate due diligence.
- Repair estimates — when you call a roofer, having photos and notes saves time. We can often provide ballpark guidance over the phone when homeowners send clear photos.
How to document effectively:
- Take a wide shot showing the location of the issue on the overall roof
- Follow with a close-up of the specific problem area
- Use your phone's timestamp or include a written date in one frame
- Note the compass direction (north-facing, south-facing) — this context helps professionals assess the cause
- Create a folder on your phone or computer organized by inspection date
Knowing When to Call a Professional
Self-inspection is valuable, but there are situations where professional assessment is the right call. Here is our honest recommendation — and we mean honest, because we would rather you save money on a minor issue than pay for a visit you do not need.
Call a professional right away for:
- Active leaks — water entering your living space means damage is happening now and every hour matters
- Sagging ridge lines or roof planes — structural problems require engineering assessment
- Large sections of missing shingles — your roof deck is exposed to the elements
- Damaged chimney flashing with visible gaps — these allow bulk water entry during every rain event
- Extensive mold in the attic — health hazard that requires proper containment and remediation
Schedule a professional inspection for:
- Roofs over 15 years old — even if everything looks fine from the ground, shingles may be nearing end of life
- Before real estate transactions — a $0 inspection can reveal $20,000 in needed work
- After significant storms — damage patterns from wind and hail are not always obvious to untrained eyes
- When you find something and are unsure how serious it is — a 15-minute professional opinion prevents months of worry
- Steep roofs you cannot safely access — never compromise safety for the sake of saving an inspection fee
The Real Cost of Skipping Inspections
We built Fraser Roofing Ltd. in Agassiz in 2026, and serving the Fraser Valley from Hope to Abbotsford, the pattern is consistent: the most expensive jobs we do are on roofs where small problems went unnoticed. A cracked pipe boot that would cost $175 to replace becomes $4,500 in deck rot repair and re-roofing because water entered for two years without anyone noticing. A valley where debris blocked drainage becomes a $6,000 interior ceiling and insulation replacement because seasonal flooding rotted through the deck.
Thirty minutes twice a year, a pair of binoculars, a flashlight in the attic, and a phone to take photos. That is the entire investment. It is the highest-return maintenance task any homeowner can perform.
Fraser Roofing Ltd. provides free, no-obligation professional inspections throughout the Fraser Valley. If you have found something during your own inspection and want a second opinion, or if you would rather have experienced eyes on your roof from the start, call Kory or Johnny at (778) 860-4747.
Frequently Asked Questions
How often should I inspect my roof in the Fraser Valley?
Twice per year is the baseline — once in early spring after winter weather has passed, and once in late September before the rainy season begins. Additional inspections are warranted after any significant storm with high winds, hail, or heavy snow. Our extended wet season from October through April puts more stress on roofing materials than drier regions of BC, making consistent inspections more important here than almost anywhere else in the province.
Can I inspect my roof myself or do I need a professional?
Homeowners can identify roughly 60-70% of roof issues from the ground and attic without stepping foot on the roof. Binoculars, a flashlight, and a systematic approach will catch missing shingles, sagging ridgelines, gutter problems, and attic moisture issues. Professional inspection is recommended for roofs steeper than 6:12, roofs over 15 years old, or anytime you find something concerning and need an expert assessment. Our inspections at Fraser Roofing Ltd. are free across the entire Fraser Valley — no obligation, no pressure.
What are the most common roof problems in the Fraser Valley?
After 500+ inspections from Hope to Abbotsford, the most common issues we encounter are: moss and algae growth (especially north-facing slopes near Agassiz and Harrison), deteriorated rubber pipe boot flashings that crack after 8-12 years of UV exposure, granule loss on asphalt shingles accelerated by our persistent moisture, improper attic ventilation causing condensation and mold, and wind-lifted shingles in exposed areas. Valley flashing failures are also frequent because the sheer volume of rainfall in our region pushes water management systems harder than in drier climates.
What does a professional inspection cover that a DIY check does not?
Professional inspections include walking the entire roof surface to assess nail patterns and adhesion, using moisture meters to detect hidden water intrusion, evaluating remaining roof life based on material condition, checking ventilation balance with intake-to-exhaust calculations, examining flashing details that require close-up roof-level access, and providing a written report with prioritized repair estimates. Professionals also carry insurance and have the safety equipment for steep or complex roof geometries that homeowners should never attempt.
How much does it cost to fix problems found during a roof inspection?
Repair costs range widely based on severity. Minor fixes — replacing a few shingles, resealing a pipe boot, or patching small flashing issues — typically run $150-$400. Chimney or wall flashing repairs range $300-$800. Full-roof moss treatment is usually $200-$500. Major work like deck replacement, ventilation overhaul, or extensive flashing rebuilds can run $1,000-$5,000. The essential point is that every one of these costs is lower when caught early. A $200 pipe boot replacement today prevents $4,000+ in deck rot next year.
Need Expert Help With Your Roof?
Kory & Johnny have completed 500+ roofs across the Fraser Valley since 2026. Free inspections, honest estimates, no pressure.
(778) 860-4747Serving Hope, Agassiz, Chilliwack, Rosedale, Abbotsford & the entire Fraser Valley
Prefer a professional set of eyes? Call Fraser Roofing Ltd. at (778) 860-4747 for a free inspection anywhere in the Fraser Valley — Hope to Abbotsford.