Chimney Flashing for Fraser Valley Rain
How We Waterproof the Most Leak-Prone Spot on Your Roof
Last updated: February 2026
A chimney punches a big, square hole through your roof. Water flows around it from every direction. In a climate where it rains for six months straight, that hole becomes the most common source of roof leaks we see across the Fraser Valley.
We are Kory and Johnny Peters, and between the two of us we have re-flashed, repaired, or rebuilt chimney flashing on hundreds of homes from Hope to Abbotsford. Before roofing, we worked as Red Seal Boilermakers in the oil sands, fabricating metal systems that had to be watertight under pressure. Chimney flashing is the same discipline applied to your roof: cut it right, bend it right, seal it right, and water stays out for decades.
This guide covers what we do and why we do it. If you are a handy homeowner, it will help you understand the process. If you decide the job is beyond your comfort level, we are a phone call away.
Safety First
Chimney flashing work happens at the most dangerous spot on any roof — near the ridge, on a slope, around a vertical obstacle.
- Fall protection is mandatory. Harness, rope grab, and ridge anchor at minimum.
- Angle grinder work on a roof is high-risk. Masonry dust, sparks, and balance issues combine badly.
- Incorrect flashing voids manufacturer warranties and creates leak paths that cause thousands in interior damage.
- If any of this makes you uneasy, call a professional. The cost of proper installation is far less than the cost of water damage.
Why the Fraser Valley Destroys Chimney Flashing
The Fraser Valley receives 1,500 to 2,000 millimetres of rain per year. Homes in Agassiz, Harrison, and Hope sit in the wettest pockets. Fog rolls off the river and condenses on metal surfaces. Morning dew forms even when it has not rained overnight. That constant moisture creates conditions that eat through flashing systems designed for drier parts of the country.
Here is what we see repeatedly on Fraser Valley roofs:
- Moss growth on the north side of chimneys. Moss holds moisture against the flashing for months, accelerating corrosion and lifting sealant.
- Mortar deterioration in older chimneys. Many homes in Chilliwack, Rosedale, and Agassiz have chimneys built in the 1960s-1980s with mortar that has softened from decades of rain. Counter flashing cannot hold in crumbling mortar.
- Galvanic corrosion from mismatched metals. When a previous roofer used aluminum flashing against a steel chimney cap, the two metals corrode each other. We see this constantly on re-roof jobs.
- Caulk-only "repairs." The number one failure mode. Someone ran a bead of caulk where counter flashing should be. It holds for a year or two. Then the rain wins.
- No cricket on the upslope side. Leaves, needles, and moss accumulate against the chimney back. Water pools. The flashing eventually gives.
The Anatomy of Proper Chimney Flashing
There are four distinct components, and every one of them must be correct. Miss one and the system fails.
1. Ice and Water Shield (The Failsafe)
Before any metal goes on, we apply self-adhering ice and water shield membrane to the deck around the chimney. It extends 12 inches out on all sides and 6 to 8 inches up the chimney face. In BC, this is not an optional extra. If any metal flashing ever lifts or corrodes, this membrane is the last line of defence keeping water out of your house.
2. Base Flashing (The Apron)
A single piece of metal covers the downslope face of the chimney. It bends 90 degrees — flat on the deck, then up the chimney face 4 to 6 inches. It extends 6 inches past each side of the chimney. Water flowing down the roof rides over this piece and keeps moving.
3. Step Flashing (The Shingle-by-Shingle Seal)
Individual L-shaped metal pieces, typically 8 by 10 inches, installed along each side of the chimney. One piece per shingle course. Each piece overlaps the one below by 3 inches. The genius of step flashing is that water hitting any point on the chimney side flows over one piece, onto the shingle below, over the next piece, and so on — all the way to the gutter.
The critical rule: step flashing gets nailed to the roof deck, never to the chimney. The chimney and roof move independently — thermal expansion, settling, wind loading. Nail flashing to both and the metal tears.
4. Counter Flashing (The Mortar-Embedded Cap)
Counter flashing is the piece that makes the whole system work. It is an L-shaped metal strip with the top leg cut into the chimney's mortar joint (1.5 inches deep) and the bottom leg hanging over the step flashing by at least 3 inches. Water running down the chimney face hits the counter flashing and drips onto the step flashing below. Without counter flashing, water runs behind the step flashing and into the house.
5. The Cricket (The Water Diverter)
On the upslope side of the chimney, a peaked structure called a cricket diverts water around the chimney instead of letting it pool against the back wall. BC building code requires a cricket for chimneys wider than 30 inches. In the Fraser Valley, we install one on nearly every chimney regardless of size, because the volume of rain and debris accumulation makes it worth the investment every time.
How We Flash a Chimney: Step by Step
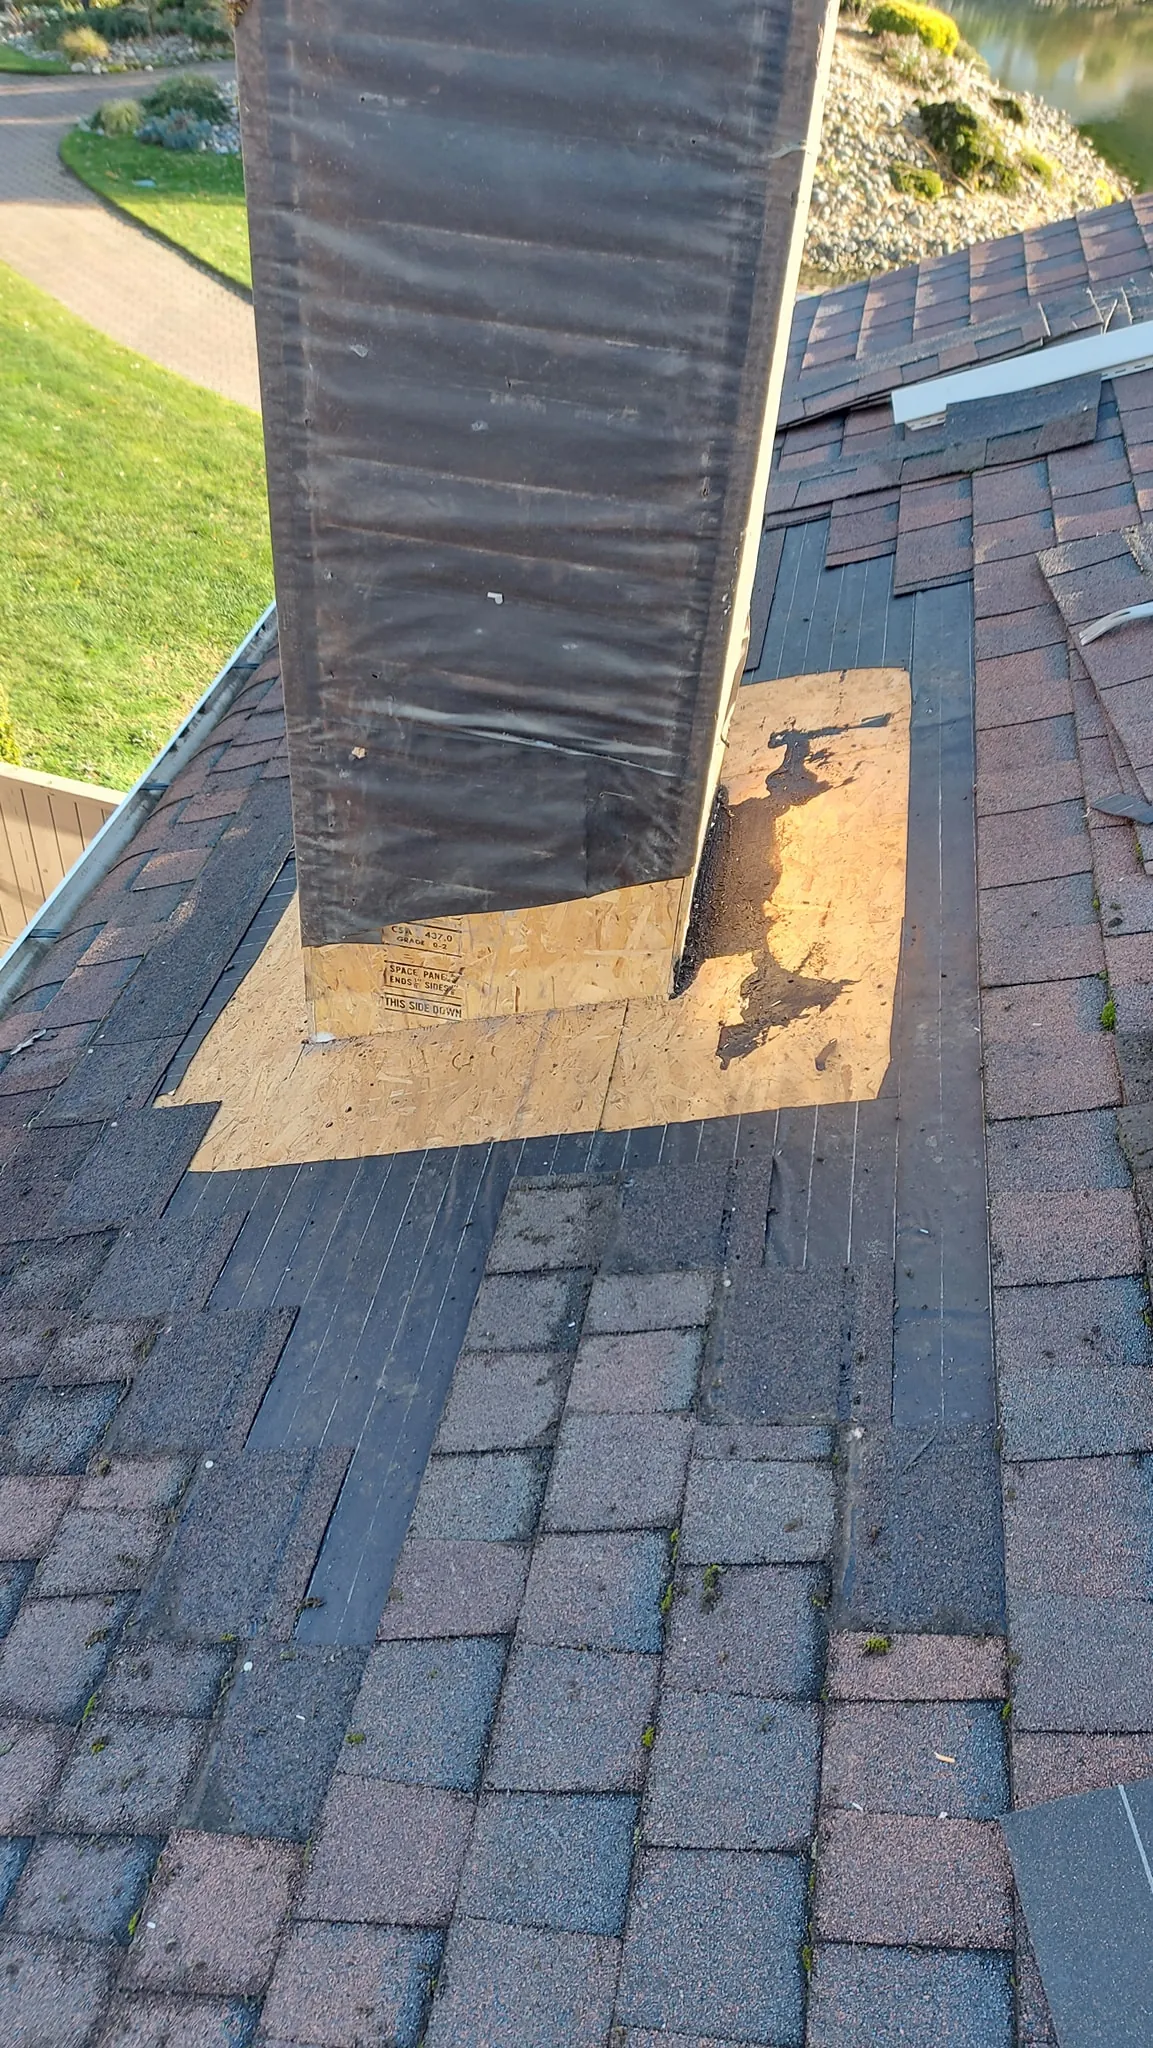
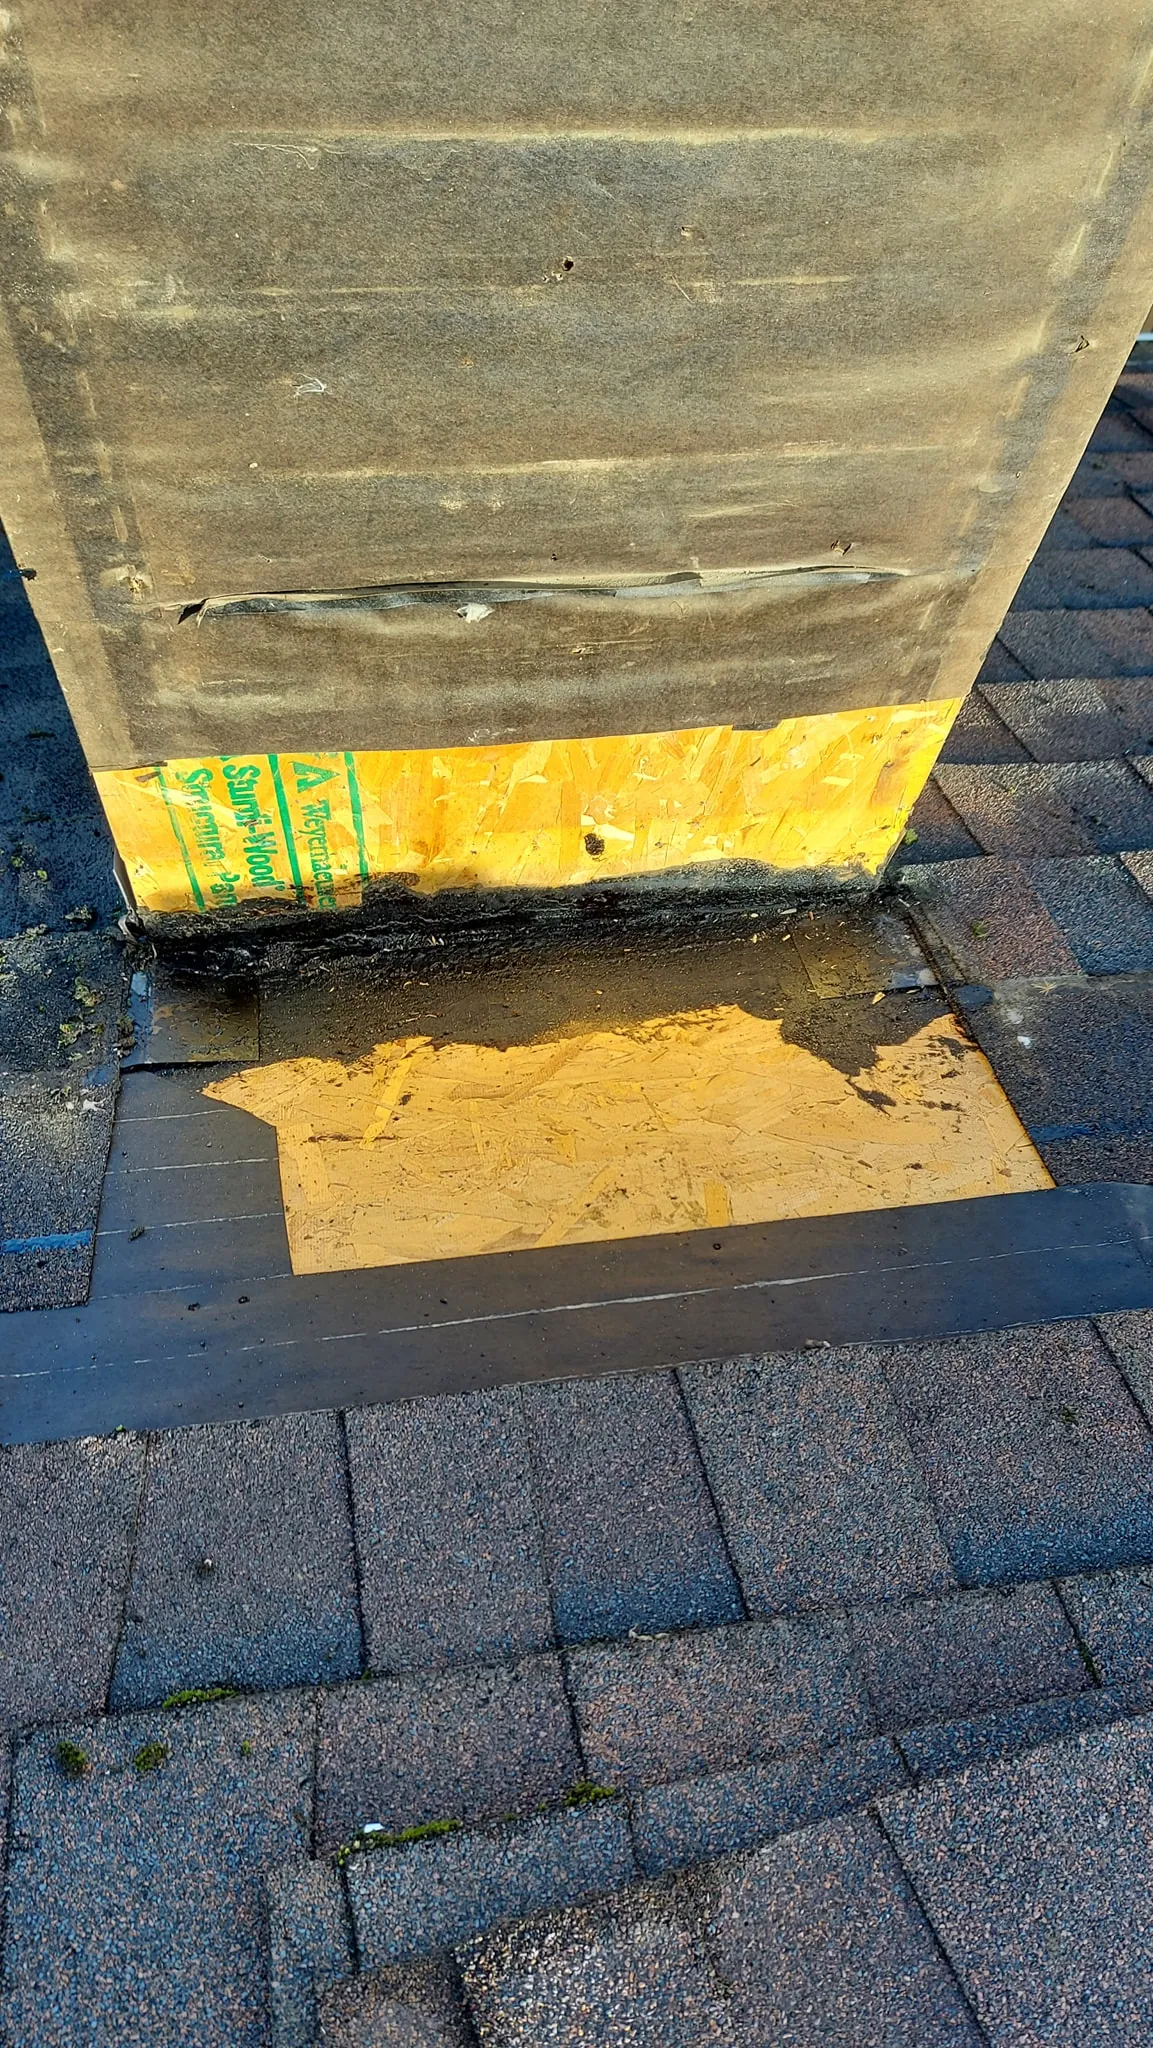
Step 1 — Strip and Inspect
We remove shingles 12 inches out from every face of the chimney. Old step flashing, base flashing, and counter flashing come out. We chisel old mortar from the counter flashing joints and wire-brush the chimney clean.
Then we inspect. Older Fraser Valley chimneys often have problems that are hidden under the old flashing: cracked bricks, soft mortar, efflorescence staining. If the mortar is too far gone to hold new counter flashing, we repoint the joints before proceeding. Skipping this step means the new counter flashing pulls out within a few years.
Step 2 — Ice and Water Shield
We apply membrane to the deck 12 inches beyond the chimney on all sides, running it 6 to 8 inches up the chimney face. Seams overlap 6 inches. Every edge gets pressed flat. In BC, this backup layer is non-negotiable.
Step 3 — Base Flashing
We measure the chimney width, cut the base flashing to extend 6 inches past each side, and bend a clean 90-degree angle on our metal brake. The flashing sits against the chimney face 4 to 6 inches up. We nail along the bottom edge (covered by shingles later) and seal the chimney joint with roofing cement.
Step 4 — Step Flashing
Starting at the bottom corner on each side, the first piece overlaps the base flashing by 3 inches. Each subsequent piece overlaps the one below by 3 inches. We nail each piece to the deck with two nails placed high so the next shingle covers them. We never nail to the chimney.
We install the corresponding shingle course over each step flashing piece as we go. The pattern is: shingle, step flashing on top, next shingle on top of that. Water rides over each layer cleanly.
Step 5 — Build the Cricket
On the upslope side, we frame a peaked diverter from 2x4s. The ridge height is one-third of the chimney width. We sheathe it with plywood, cover it in ice and water shield, then install sheet-metal cricket flashing that extends 6 inches up the chimney and 12 inches onto the roof deck. Step flashing runs along the cricket sides using the same technique as the chimney sides.
In our experience, the cricket is what separates a flashing job that lasts 5 years from one that lasts 30. In the Fraser Valley, the amount of needles, leaves, and moss that collects behind a chimney without a cricket is remarkable. That debris holds water. Water finds a way in.
Step 6 — Counter Flashing
This is the step that requires masonry skill, and it is where most DIY and low-quality professional jobs fail.
We mark horizontal mortar joints 4 to 6 inches above the step flashing. Using an angle grinder with a masonry blade, we cut each joint 1.5 inches deep across the full width of the chimney side. We clean the joints with a wire brush and compressed air.
We fabricate L-shaped counter flashing pieces with a 1.5-inch top leg and a 4 to 5-inch bottom leg. The top leg slides into the cut joint. The bottom leg overlaps the step flashing by 3 inches minimum. Where counter flashing pieces meet, they overlap each other by 2 inches.
We pack Type N mortar tightly into the joint around the embedded flashing, then tool it smooth to match the existing mortar profile. After curing, this counter flashing is locked in place for decades.
Step 7 — Shingle and Test
We reinstall shingles around the chimney, maintaining proper overlap over the step flashing. Cut shingle edges get sealed with roofing cement to prevent water wicking.
Then we water test. We run a hose over the chimney for 15 to 20 minutes while someone checks the interior. In the Fraser Valley, we sometimes get the luxury of the next rainstorm arriving within hours to provide a real-world test.
Fraser Valley-Specific Considerations
What Makes BC Different
- Material choice matters more here. We use aluminum or stainless steel flashing, never plain galvanized. The constant moisture in Agassiz and Harrison corrodes galvanized steel within 10 to 15 years. Aluminum or stainless lasts the life of the roof.
- Sealant selection is critical. We use polyurethane sealants rated for BC's UV and moisture exposure, not basic silicone. The difference in longevity is 10+ years.
- Mortar type affects counter flashing life. We use Type N mortar for counter flashing joints. It is more flexible than Type S and handles the freeze-thaw cycles that upper Fraser Valley homes experience in winter.
- Moss prevention starts at installation. On north-facing chimney sides, we leave smooth metal surfaces and avoid creating ledges where moss takes hold. A small detail that saves years of maintenance.
- Fog and condensation are underestimated. Homes near the Fraser River — Agassiz, Rosedale, parts of Chilliwack — deal with heavy morning fog. That fog condenses on cold chimney surfaces and runs behind poorly installed flashing just like rain does.
Mistakes We See on Fraser Valley Re-Flash Jobs
After 500+ roofs across the valley, these are the chimney flashing failures we encounter most often:
Caulk instead of counter flashing. This is the single most common failure. A previous roofer ran a thick bead of caulk where counter flashing should be embedded in mortar. In BC's UV-and-rain cycle, that caulk fails in 2 to 4 years. We have lost count of how many of these we have re-done.
Step flashing nailed to the chimney. The roof and chimney are two separate structures that move independently — thermal expansion, wind loading, settling. When flashing is nailed to both, the metal tears and water gets in. We see this on roughly one in three re-flash jobs.
No ice and water shield underneath. Some roofers skip the membrane to save time. In the Fraser Valley, that is gambling with your interior. The membrane is your backup when the 40-year-old chimney mortar finally lets a drip through.
Mixing metals. Aluminum flashing against a steel chimney cap, or galvanized flashing touching copper pipes. Galvanic corrosion eats through the weaker metal in a few years. We see this surprisingly often on homes that had different contractors touch the chimney and the roof.
Counter flashing cut too shallow. The mortar joint needs to be cut 1.5 inches deep. We have pulled counter flashing out of joints that were cut half an inch deep — barely enough to hold the metal in place, let alone seal it against driving rain.
When to Call a Professional
Chimney flashing is arguably the most demanding single task in residential roofing. It requires both roofing expertise and masonry skill. If any of the following apply, we strongly recommend professional installation:
- Your chimney mortar is soft, crumbling, or missing in spots
- The chimney has structural cracks in the bricks
- Your roof pitch is 6:12 or steeper (difficult to work safely near a chimney)
- You do not own or have experience with an angle grinder
- Your chimney is wider than 30 inches and needs a cricket
- Previous flashing repairs have failed repeatedly
At Fraser Roofing Ltd., chimney flashing is work we take seriously. Kory and Johnny bring boilermaker-grade metal fabrication to every chimney we touch. We cut counter flashing joints to proper depth, we embed metal in fresh mortar, and we build crickets that actually divert water. We have flashed chimneys on homes from Hope to Abbotsford, from brand-new builds to century-old farmhouses. We warranty our work because we trust our methods.
Frequently Asked Questions
Why does chimney flashing fail so often in the Fraser Valley?
The combination of 1,500 to 2,000 mm of annual rainfall, moss growth on north-facing surfaces, and aging mortar in older homes creates conditions that break down chimney flashing faster than in drier regions. Constant wet-dry cycling degrades sealants, and fog condensation along the Fraser River adds moisture even on days without rain. Many chimneys in Agassiz, Chilliwack, and Harrison have mortar that has softened over decades, making it difficult for counter flashing to stay seated.
How much does chimney re-flashing cost in BC?
Professional chimney flashing in the Fraser Valley typically costs $900 to $1,800 CAD depending on chimney size, cricket requirements, and mortar condition. Materials alone run $250 to $450. That professional cost is minor compared to the $5,000 to $20,000 in interior water damage from failed flashing — damage we see regularly in older valley homes that went too long with deteriorated chimney flashing.
Does my chimney need a cricket on the upslope side?
BC building code requires a cricket for chimneys wider than 30 inches. In the Fraser Valley, we recommend one on nearly every chimney regardless of size. The amount of debris, moss, and standing water that collects on the upslope side of a chimney without a cricket is significant — and in a region that gets rain six months of the year, that standing water will eventually find a way inside.
Can I use caulk to seal chimney flashing instead of counter flashing?
No. This is the most common chimney flashing mistake, and we have re-done dozens of these jobs across the valley. Caulk breaks down in 3 to 5 years — often faster under BC's UV exposure and constant moisture. Counter flashing embedded in mortar lasts 30+ years. There is no shortcut that works long-term.
How do I know if my chimney flashing is leaking?
Look for water stains on the ceiling or walls near the chimney, especially after heavy rain. Peeling paint, bubbling drywall tape, or a musty smell near the fireplace are common signs. On the roof, check for lifted or rusted step flashing, cracked mortar around counter flashing, or a missing cricket. If you see daylight between the chimney and the flashing, water is getting in. Call us at (778) 860-4747 and we will take a look.
Need Expert Help With Your Roof?
Kory & Johnny have completed 500+ roofs across the Fraser Valley since 2026. Free inspections, honest estimates, no pressure.
(778) 860-4747Serving Hope, Agassiz, Chilliwack, Rosedale, Abbotsford & the entire Fraser Valley
Chimney leaking? Flashing pulling away from the mortar? Call (778) 860-4747 — Kory and Johnny will get it sorted.