Wind & Hail Damage in the Fraser Valley
What We've Learned from 500+ Roofs in BC's Toughest Wind Corridor
Last updated: February 2026
We Built Our Business in the Outflow Zone
Our shop is in Agassiz, right where the Fraser Canyon narrows and funnels cold Arctic air straight into the valley. When Environment Canada posts an outflow wind warning, our phone starts ringing. We've been through enough of these events since founding Fraser Roofing Ltd. in 2026 to know exactly what those winds do to a roof — and exactly how to fix the damage.
Between outflow events in winter, Chilliwack Mountain downdrafts in spring, and the occasional summer hailstorm rolling off the Cascades, Fraser Valley roofs take a beating that most other regions in BC simply don't see. Johnny and I have repaired storm damage from Hope all the way to Abbotsford, and the patterns repeat themselves. Certain roof areas fail first. Certain shingle installations hold up and others don't. This page is everything we've learned, laid out so you can protect your home before the next storm — or know what to do after one hits.
How Fraser Valley Winds Attack Your Roof
Wind doesn't just push against your roof. It creates negative pressure on the surface — suction that lifts shingles away from the deck. The faster the wind, the stronger that uplift force. In the Fraser Valley, we deal with three distinct wind threats:
Fraser Canyon Outflow Winds
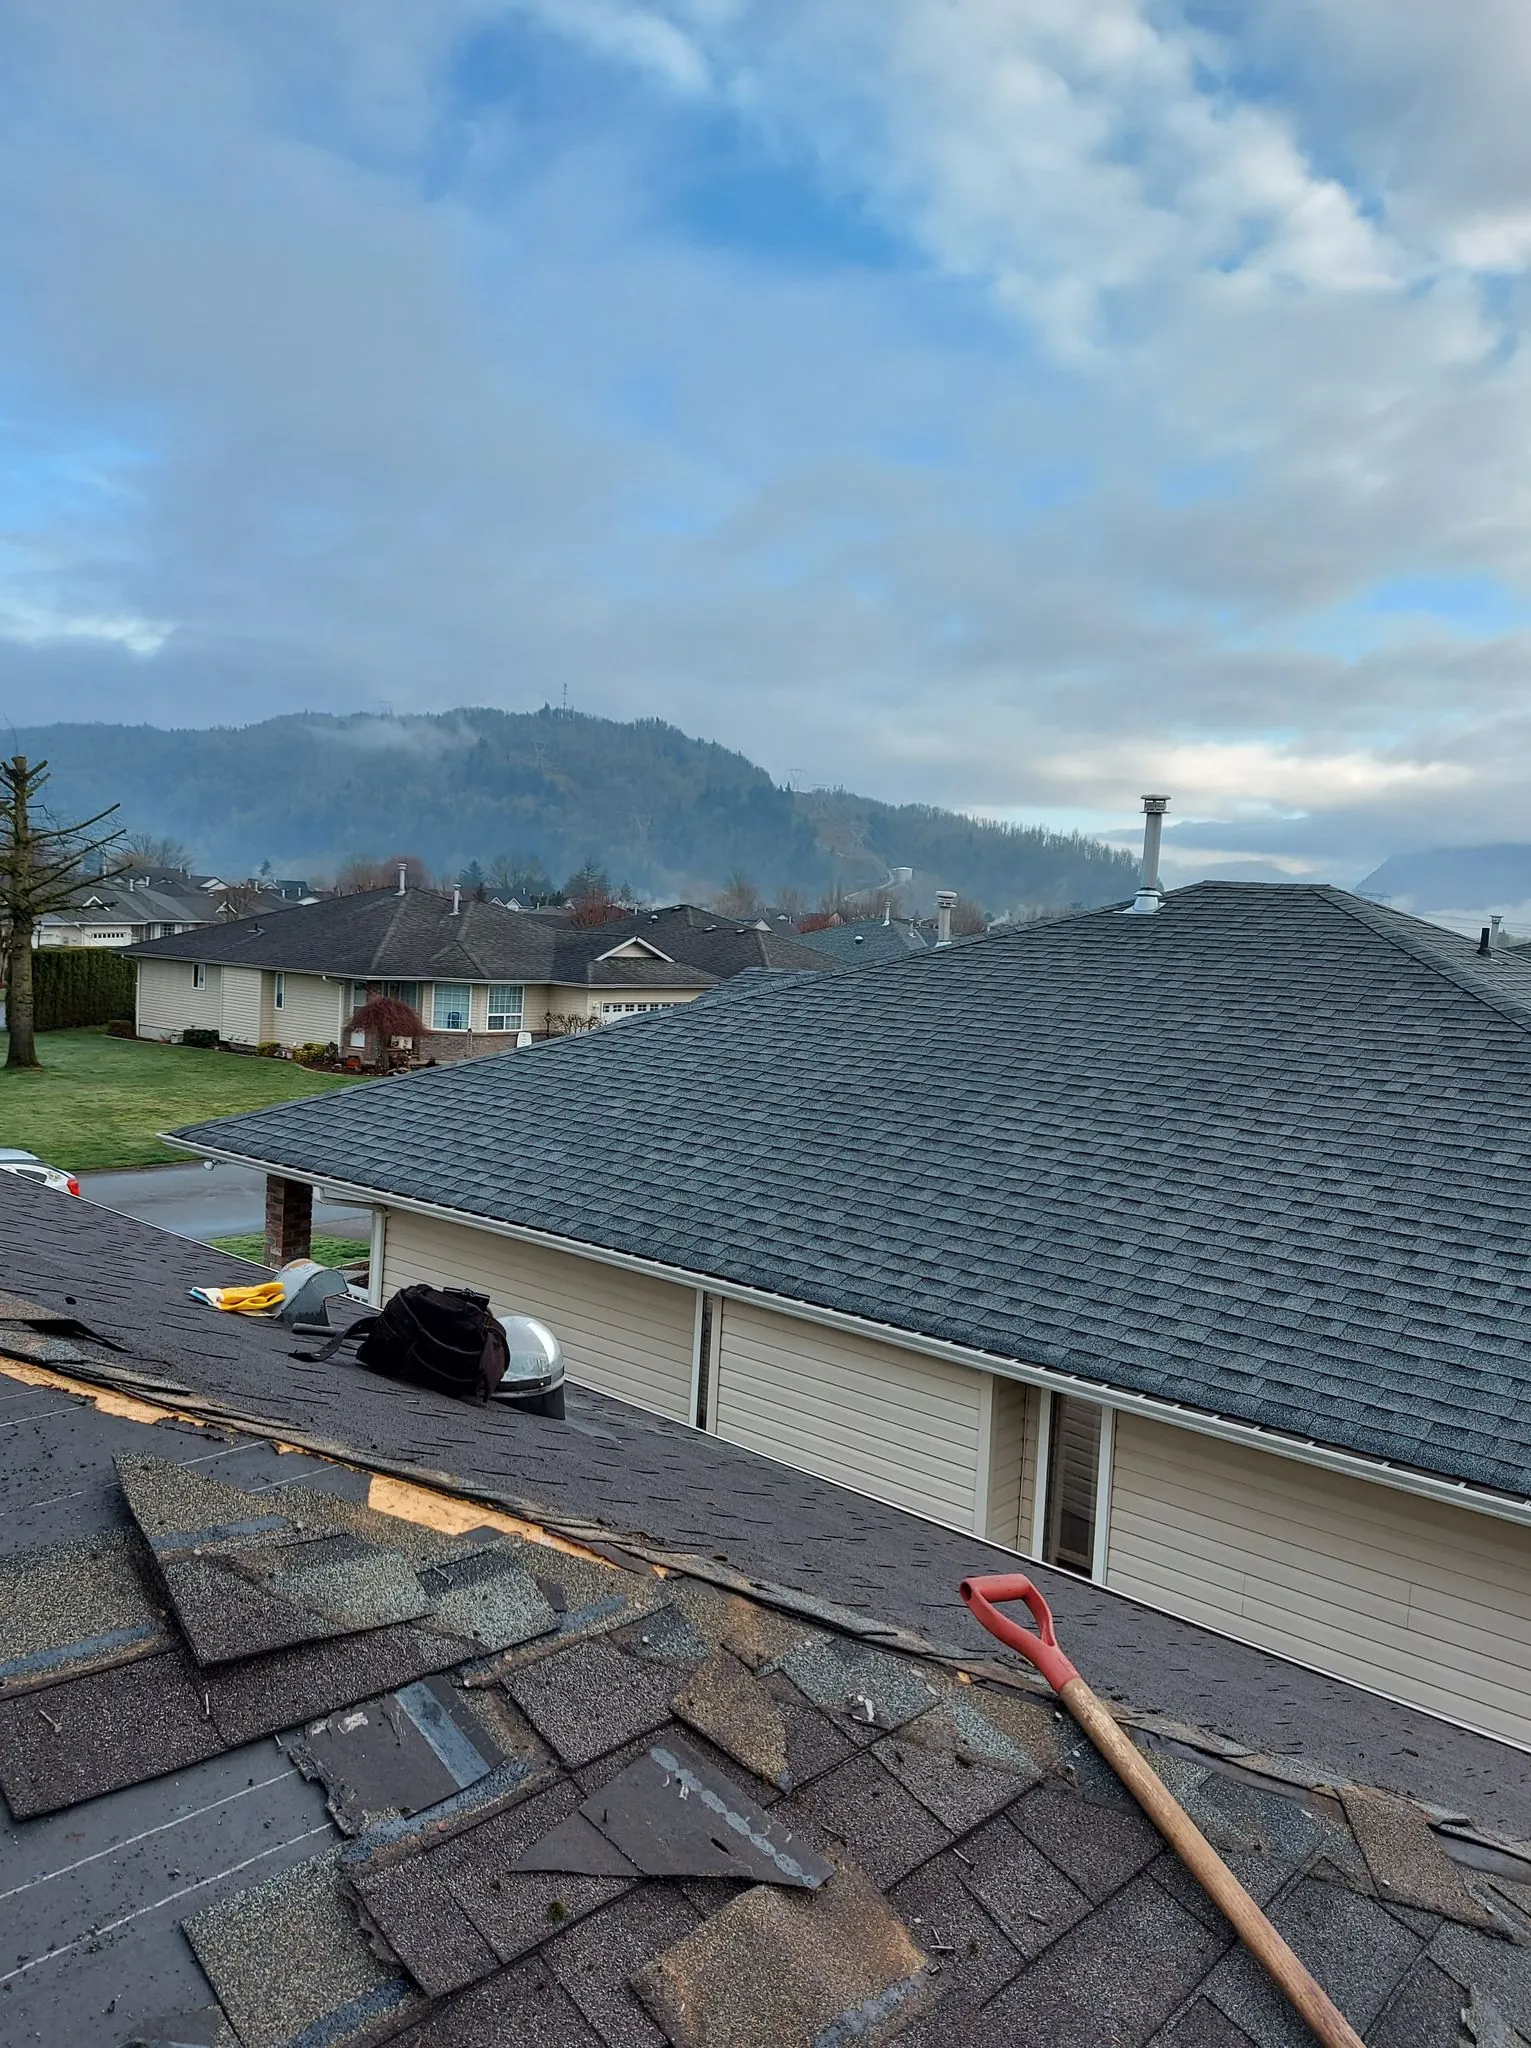
These are the big ones. Cold, dense air builds up in the BC Interior and pours through the Fraser Canyon like water through a funnel. By the time it reaches Agassiz and Hope, wind speeds hit 80-130 km/h. These events happen several times each winter, usually with very little warning. The air is dry and cold, which means shingle adhesive strips are stiff and brittle — exactly when you need them most. We've responded to outflow damage calls where entire ridge cap sections were stripped clean off, shingles peeled back in sheets, and aluminum flashing bent 90 degrees by the force.
Chilliwack Mountain Downdrafts
In spring and fall, thermal winds develop along the south face of the Cheam Range and Chilliwack Mountain. These aren't as sustained as outflow winds, but the sudden gusts — sometimes 70-90 km/h — catch homeowners off guard. Roofs in Rosedale, Yarrow, and south Chilliwack are especially exposed. We see a lot of lifted shingles and torn flashing after these events, usually on the south-facing slopes that take the downdraft head-on.
Atmospheric River Storms
The big rain events that make national news also carry sustained winds of 60-100 km/h. Unlike outflow winds, atmospheric rivers bring water — so when shingles lift or blow off, the leak is immediate. These storms often produce the most urgent emergency calls because the damage and the water intrusion happen simultaneously.
Spotting Wind Damage on Your Roof
After a major wind event, you want to know what to look for. Some damage is obvious; some isn't. Here's how we categorize what we find on inspection.
What You'll Likely See from the Ground
- Missing shingles — visible gaps in the roof surface, shingle fragments in the yard or on the driveway
- Ridge cap damage — the peak of the roof looks uneven or has bare spots where caps blew off
- Gutter and fascia damage — dented, bent, or detached gutters and downspouts
- Debris impact — branches or fence panels that struck the roof
What You Won't See Without Getting Up There
- Creased shingles — wind bent them back, leaving a fold line that breaks the waterproof mat
- Broken adhesive seals — shingles that lifted but settled back down; the seal is broken and they'll blow off in the next event
- Exposed fasteners — when a shingle lifts, it pulls against the nails and can expose them to water
- Flashing damage — step flashing along walls, valley flashing, and vent collars get bent or pulled away from the deck
Where Damage Concentrates
Wind damage isn't random. It follows physics. The highest uplift pressure is always at the edges and corners of the roof — that's where we look first. In order of vulnerability:
- Roof edges (eaves and rakes) — wind curls over the edge and creates maximum suction
- Ridge caps — they sit at the highest point with exposure on both sides
- Corners — where two edges meet, wind pressure is amplified
- Windward slopes — the side facing the prevailing wind direction, which in our area is typically east or southeast for outflow events
- Valleys — wind funnels through valleys and accelerates
Hail Damage: The Invisible Problem
Hail in the Fraser Valley isn't as frequent as wind damage, but when it happens — usually from summer thunderstorms building over the Cascade foothills — it can affect entire neighborhoods at once. The tricky part is that hail damage often looks like nothing from the ground.
What Hail Actually Does to Shingles
A hailstone doesn't punch a hole through your shingle. It bruises the asphalt mat underneath the granule surface. That bruise weakens the structural integrity of the shingle, and the impact knocks granules loose. Over the following months, water penetrates the exposed asphalt, UV breaks it down faster, and a shingle that looked fine right after the storm develops cracks and leaks a year later.
Hail Size and What It Means for Your Roof
- Pea-sized (6mm) — minimal concern, might dislodge some surface granules
- Dime-sized (18mm) — can bruise the mat, especially on older shingles
- Quarter-sized (25mm) — significant mat damage likely, granule loss visible on close inspection
- Golf-ball or larger (45mm+) — severe damage, possible cracking, often warrants full replacement
How to Identify Hail Damage on a Roof
If you suspect hail damage, look at your metal surfaces first. Gutters, vent caps, and aluminum flashing will show dents from hail far more obviously than shingles. If you see dents on your metal components, your shingles almost certainly took hits too. On the shingles themselves, look for:
- Random circular spots where granules are missing — hail hits are round, unlike wear patterns which follow the shingle edge
- Dark bruises or soft spots when you press on the shingle — the mat is damaged underneath
- Shiny black patches where exposed asphalt is visible
- Cracked or split shingles, especially on ridges and edges where shingles are more exposed
What to Do After Storm Damage
When you realize your roof took a hit, the steps you take in the first 48 hours matter more than anything else — for your safety, for preventing further water damage, and for your insurance claim.
Step 1: Stay Safe and Document
Don't climb on a damaged roof. Stay on the ground, walk the perimeter, and take photos of everything — close-ups of damage, wide shots showing the full roof, debris in the yard, and any interior water intrusion. Save the weather reports from that day. If your neighbors have damage, document that too. This evidence is critical for your insurance claim.
Step 2: Stop the Water
If water is coming in, call a roofer for emergency tarping. Move furniture, electronics, and valuables away from leak areas. Place buckets and towels. Take photos of everything you do — insurance recognizes and covers "reasonable mitigation" costs, and they expect you to take these steps.
Step 3: Call Your Insurance Within 48 Hours
Time is not on your side. Most BC homeowner policies require prompt reporting, and claims filed weeks or months later face much higher scrutiny. Give them your policy number, the date of the storm, and a brief description of the damage. Request an adjuster inspection.
Step 4: Get a Professional Roof Inspection
A thorough on-roof inspection reveals damage that's invisible from the ground. We offer free storm damage inspections throughout the Fraser Valley. We check every slope, every penetration point, every piece of flashing, and we document the findings with photos and a written report that your insurance adjuster can use.
Step 5: Work with the Adjuster
When the insurance adjuster comes out, having a roofer present makes a significant difference. Adjusters are generalists — they inspect everything from flooded basements to fire damage. A roofer can point out subtle hail bruising, broken adhesive seals, and creased shingles that an adjuster might overlook. We've been present for dozens of adjuster inspections and the thoroughness of the final report is always better when we're there.
Insurance Claims: What Gets Covered and What Doesn't
Typically Covered
- Shingles torn off or damaged by wind
- Hail impact damage (bruising, granule loss, cracks)
- Tree or debris impact
- Interior water damage caused by the roof failure
- Emergency tarping and temporary protection costs
Typically Not Covered
- Normal wear and aging
- Damage that existed before the storm
- Damage caused by deferred maintenance (clogged gutters, moss buildup)
- Cosmetic-only damage that doesn't affect roof function
Common Pitfalls We've Seen
Waiting too long to file. We've seen homeowners notice damage in December and not call their insurer until April. By then, the evidence has degraded — water stains dry, damaged areas weather further, and the insurer has grounds to call it "pre-existing." File early.
Accepting the first offer without question. Adjusters sometimes underestimate repair scope. If the settlement seems low, request an itemized breakdown and compare it to your contractor's detailed estimate. You can negotiate, and you can request a re-inspection.
Making permanent repairs before the adjuster visits. Temporary protection (tarps, board-ups) is fine and expected. But if you re-shingle before the adjuster sees the damage, you've eliminated their ability to verify the claim.
Repair Costs: What to Expect
Minor Wind Repairs
- Replacing 5-10 blown-off shingles: $200-500
- Re-securing lifted shingles: $150-400
- Ridge cap replacement: $300-600
- Flashing repair or replacement: $300-800 per section
Major Storm Damage
- Partial re-roof (one slope): $2,500-6,000
- Full replacement (hail total loss): $8,000-18,000+ depending on size and materials
- Emergency tarping: $300-800
If insurance is involved, you pay your deductible (typically $500-2,500 in BC) and the insurer covers the rest up to your policy limits. Replacement Cost Value (RCV) policies pay for full replacement; Actual Cash Value (ACV) policies deduct for depreciation.
Building a Storm-Resistant Roof in the Fraser Valley
After seeing what wind and hail do to hundreds of roofs, we've developed a set of non-negotiable practices that we apply to every installation. These aren't upsells — they're the baseline for a roof that survives in this region.
6-Nail Installation on Every Roof
Standard installation calls for 4 nails per shingle. We use 6 on every single roof, regardless of location. In the outflow corridor from Hope to Agassiz, this is essential. But even in Chilliwack, Abbotsford, and Mission, the wind events we experience exceed what 4-nail installations are rated for. The material cost difference is around $200-300 on a typical home — and it's the cheapest insurance you'll ever buy.
Impact-Resistant Shingles Where It Matters
Class 4 impact-rated shingles (UL 2218) cost about 10-15% more than standard options, but they resist hail damage far better and often qualify you for a 10-30% insurance premium discount. Brands we install include IKO Nordic, Owens Corning Duration Storm, and GAF HDZ with StainGuard Plus. If you're in a hail-prone area or simply want peace of mind, impact-rated shingles pay for themselves.
Proper Adhesive Activation
Every asphalt shingle has a thermally activated adhesive strip that bonds each course to the one below it. This is your first line of defense against wind uplift. The strip needs sustained warmth (usually 2-4 weeks of temperatures above 15°C) to fully activate. Roofs installed in late fall or winter won't have sealed adhesive until the following spring, which means they're vulnerable to that first outflow event. We account for this in our scheduling and warranty guidance.
Annual Maintenance Checks
The best storm protection is a roof that's already in good shape. Loose shingles, deteriorated flashing, and clogged gutters all become catastrophic failure points in a storm. We recommend a visual check every spring after the outflow season ends, looking for anything that might have lifted or shifted over the winter. Trim back overhanging branches — they become projectiles in high wind.
Frequently Asked Questions
How do Fraser Canyon outflow winds damage roofs differently than regular storms?
Outflow winds funnel through the canyon at 80-130 km/h, arriving dry and cold. That cold air makes shingle adhesive strips stiff and brittle, so shingles peel off far more easily than they would in a warm rain storm. We see entire ridge cap sections stripped clean, field shingles peeled back in sheets, and aluminum flashing bent 90 degrees. Standard 4-nail installation often fails in these events — 6-nail is the minimum for roofs in the outflow corridor.
What should I do immediately after a windstorm damages my roof?
Stay off the roof. Walk the perimeter and photograph everything — missing shingles, debris, gutter damage, interior leaks. Stop active water intrusion with buckets and towels, and call a roofer for emergency tarping if needed. Contact your insurance within 48 hours. Do not make permanent repairs before the adjuster inspects — temporary protection is expected and covered.
Can hail damage be invisible to the untrained eye?
Yes. Most hail damage shows up as subtle bruises in the asphalt mat and small circular patches of missing granules — not visible from the ground. These weakened areas degrade over months, leading to leaks a year or two after the storm. Professional on-roof inspection is the only reliable way to assess hail damage, and it's critical for filing a timely insurance claim.
Does insurance cover wind and hail damage in BC?
Most BC homeowner policies cover sudden storm damage. Wind-torn shingles, hail bruising, debris impact, and resulting interior water damage are typically covered. Pre-existing wear, deferred maintenance, and cosmetic-only damage are not. You pay your deductible ($500-2,500) and insurance covers the rest. File within 48 hours — late claims are far more likely to be denied.
What is 6-nail installation and why does Fraser Roofing Ltd. use it?
Standard shingle installation uses 4 nails per shingle. We use 6 on every roof because it meets high-wind warranty thresholds of 130+ mph. In the Fraser Valley, where outflow gusts regularly exceed 100 km/h, that extra holding power is the difference between shingles that stay put and shingles in your neighbor's yard. The added cost is about $200-300 for a typical home.
Related Guides
Need Expert Help With Your Roof?
Kory & Johnny have completed 500+ roofs across the Fraser Valley since 2026. Free inspections, honest estimates, no pressure.
(778) 860-4747Serving Hope, Agassiz, Chilliwack, Rosedale, Abbotsford & the entire Fraser Valley
Storm damage? Call (778) 860-4747 — we offer free storm damage inspections across the Fraser Valley