Roofing Fasteners and Sealants
Boilermaker Precision on Every Nail, Screw, and Seal
Last updated: February 2026
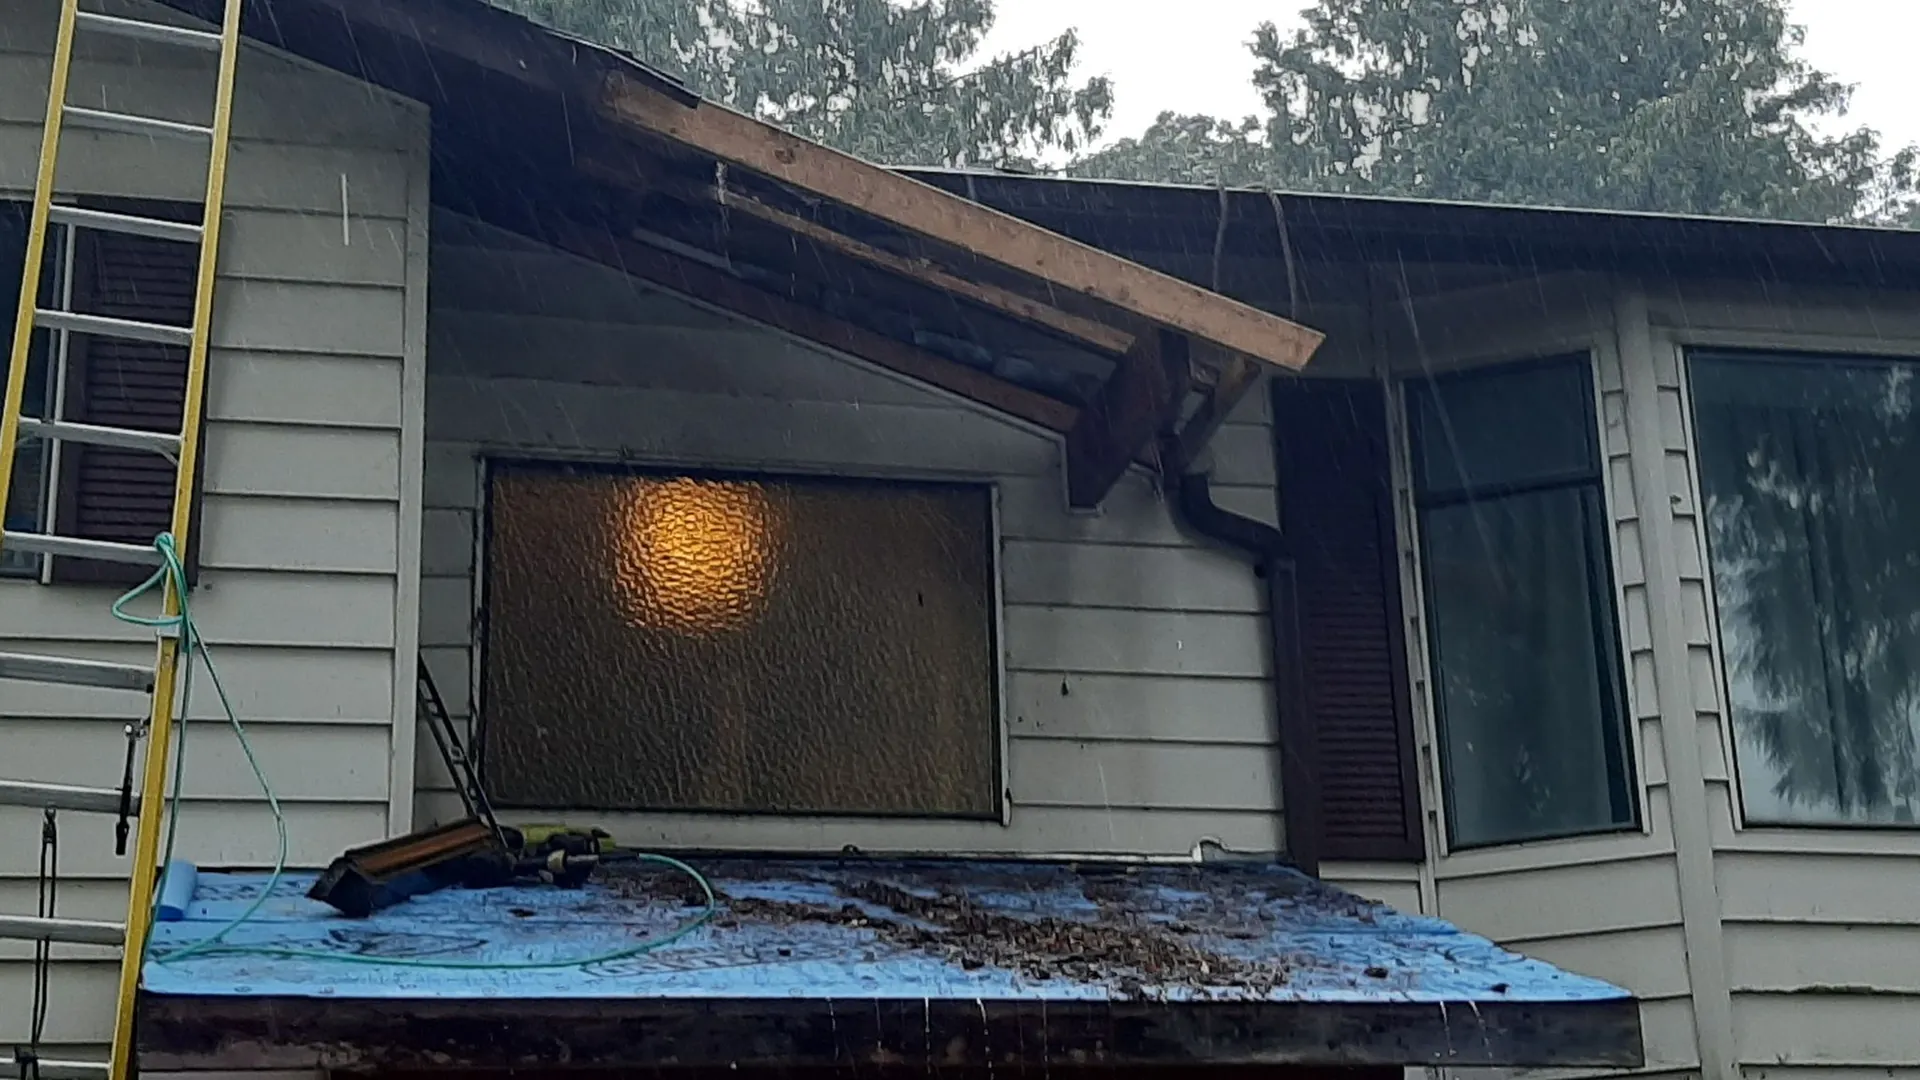
10,000 Fasteners. Zero Room for Error.

Your shingles get all the attention. Homeowners compare brands, debate colours, ask about warranties. But underneath every shingle sits a fastener that actually holds the roof together. A standard residential roof uses between 5,000 and 10,000 nails, screws, and sealant applications. Every single one is a potential failure point — and every single one is an opportunity to get it right or get it wrong.
Kory and Johnny Peters spent years as Red Seal boilermakers in the oil sands, where fastener torque specs are measured in foot-pounds and a loose bolt can shut down an entire operation. That same discipline defines how Fraser Roofing Ltd. approaches roofing. No low nails. No overdriven heads. No skipped fasteners to save fifteen minutes.
Roofing Nails: The Foundation of Every Shingle Roof
What Makes a Proper Roofing Nail
Not all nails are created equal, and the Fraser Valley's combination of heavy rainfall, temperature swings, and seasonal windstorms demands specific fastener characteristics. A nail that works fine in a sheltered urban environment can fail within a few years on an exposed slope near the mountain passes.
Minimum specifications for asphalt shingle fasteners:
- Length: 1-1/4 inches minimum for new construction over standard sheathing. Re-roofing over existing layers requires longer nails to penetrate the deck.
- Head diameter: 3/8 inch minimum. Smaller heads pull through shingle material under wind load.
- Material: Hot-dipped galvanized steel or stainless steel. Electro-galvanized nails corrode within a few years in BC's wet climate.
- Shank type: Ring-shank for high-wind zones and exposed elevations. The rings grip the wood deck and resist pull-out forces that smooth-shank nails cannot handle.
Ring-Shank vs. Smooth-Shank: Why We Made Our Choice
In boilermaking, you never use a Grade 2 bolt where a Grade 8 is specified. The same principle applies to roofing nails. Ring-shank nails provide 40% more wind uplift resistance than smooth-shank nails of the same size. The rings along the shank act like threads on a bolt — once driven into the wood deck, they resist backing out from thermal cycling and wind vibration.
Smooth-shank nails are cheaper and faster to drive. Some contractors prefer them because pneumatic guns jam less frequently. But in the Fraser Valley — where winter storms push through the mountain corridors between Hope and Chilliwack with sustained winds that can peel improperly fastened shingles — smooth-shank is a gamble we refuse to take on exposed installations.
Our standard: Ring-shank on every exposed slope, every property with documented wind history, and every roof above 300 metres elevation. The cost difference is $5 to $10 per box of nails. On a full roof, that amounts to roughly $50 to $100 total. Skipping ring-shank to save that amount is not a trade-off any responsible roofer should make.
The 4-Nail vs. 6-Nail Pattern
BC Building Code requires a minimum of four nails per shingle in standard wind zones. That is a minimum, not a recommendation. In high-wind areas, the code calls for six nails per shingle. But "high-wind area" is loosely defined, and many contractors default to four nails everywhere because it is faster.
At Fraser Roofing Ltd., we have seen four-nail installations blow off in storms that six-nail roofs survived on the same street. Each additional nail adds approximately 10% to the shingle's resistance against wind uplift. The 6-nail pattern means 50% more holding power than code minimum.
The math is simple. A typical roof requires about 80 bundles of shingles. At four nails per shingle, that is roughly 8,000 nails. At six nails, it is about 12,000. The extra 4,000 nails cost under $100 in materials. The labour difference is negligible for an experienced crew. The performance difference in a windstorm is the difference between your shingles staying on the roof and finding them in your neighbour's yard.
Nail Placement: Where Boilermaker Precision Shows
This is where most roofing failures actually originate — not from using the wrong nail, but from putting the right nail in the wrong spot. Every shingle manufacturer specifies a designated nailing zone, typically a narrow band just below the adhesive strip. Nails placed outside this zone compromise the shingle's wind resistance, void the manufacturer's warranty, and create pathways for water.
The three placement failures we see constantly on tear-offs:
- Low nails: Placed below the nail line, through the exposed portion of the shingle below. These nails are visible, create leak points, and reduce holding power because they miss the overlap zone where two shingle layers provide reinforcement.
- High nails: Placed above the nail line, too close to the top edge. These nails only catch one layer of shingle material and provide minimal wind resistance. The shingle can pivot around a high nail like a door on a hinge.
- Off-angle nails: Driven at an angle instead of perpendicular to the deck. The nail head does not sit flat, creating a bump under the shingle above and a potential leak path.
In boilermaking, if a bolt is not perpendicular to the flange, you pull it and redo it. Same principle on a roof. A nail driven crooked is a nail that needs to come out. We do not cover bad nails with sealant and move on.
Nail Depth: Flush or Nothing
The nail head must sit flush with the shingle surface. This sounds simple. In practice, it is the most common installation error in roofing, because pneumatic nail guns require constant pressure adjustment as roofers move across different deck thicknesses and slope angles.
- Overdriven: The nail head punches through the shingle material, creating a hole. Water collects in the depression and seeps through to the deck. Over time, the deck sheathing rots around overdriven nails, and the nail loses all holding power.
- Underdriven: The nail head sits proud of the surface, preventing the shingle above from lying flat and sealing properly. Wind catches the gap, lifts the shingle, and progressive failure begins.
Our crews check nail depth continuously and adjust gun pressure as conditions change across the roof surface. A roofer who sets the gun once and fires all day without adjusting is a roofer who is overdriving on the thick spots and underdriving on the thin ones.
Metal Roofing Fasteners: A Different Discipline
Exposed-Fastener Panel Screws
Metal roofing panels with exposed fasteners use self-drilling screws fitted with EPDM rubber washers. These screws penetrate the metal panel and seat into the wood or steel deck below, while the washer compresses to create a watertight seal around the screw shaft.
Specifications:
- Type: Self-drilling hex-head with bonded EPDM washer
- Length: 1-1/2 to 2 inches depending on panel profile and deck material
- Head finish: Painted to match panel colour for aesthetics and corrosion resistance
- Washer material: UV-stabilized EPDM rubber rated for 20+ year exposure
Torque is everything with exposed-fastener metal. Too tight and the EPDM washer mushrooms out, losing its seal and beginning to crack from UV within a few seasons. Too loose and water wicks under the washer by capillary action. The correct torque compresses the washer just enough that it bulges slightly beyond the screw head without distorting.
This is where boilermaker training provides a genuine advantage. Kory and Johnny spent years working with torque wrenches calibrated to specific foot-pound values on high-pressure vessels. Developing a feel for proper fastener tension is second nature. Most residential roofers learn by guessing.
Standing Seam Concealed Clips
Standing seam metal roofing uses a completely different fastening philosophy. Instead of screws through the panel face, clips attach to the deck and the panel edges snap or lock onto the clips. The result is a roof with zero exposed fasteners — nothing to leak, corrode, or back out.
- Clips are screwed to the deck at manufacturer-specified spacing
- Panels engage the clips and lock mechanically, either by hand-seaming or machine-seaming
- The clip design allows the panel to expand and contract with temperature changes without stress on the fastener or the panel
- No penetrations through the weathering surface means the only potential leak points are at flashings and transitions
Standing seam is the premium metal roofing system for a reason. The concealed clip method eliminates the single largest maintenance concern with metal roofing — washer degradation on exposed screws.
Sealants and Adhesives: The Third Layer of Defence
Fasteners hold materials in place. Sealants fill the gaps between them. Choosing the wrong sealant for a given application is as consequential as choosing the wrong nail — it just fails more slowly and more invisibly.
Roofing Cement (Asphalt-Based)
The thick, black, tar-like sealant that has been used in roofing for over a century. Available in several formulations for different applications:
- Plastic cement: General-purpose consistency for flashing bedding, pipe boot sealing, and small patch repairs. Not paintable, not suitable for exposed joints.
- Lap cement: Thinner formula designed to bond overlapping felt or modified bitumen layers. Applied with a brush or roller, not a trowel.
- Flashing cement: Fiber-reinforced for extra body and adhesion on vertical surfaces. Used behind counter flashing and at chimney-to-roof transitions where gravity wants to pull the sealant downward.
We use roofing cement where it belongs — under flashing, around mechanical penetrations, and at detail transitions. We do not use it as a waterproofing layer on its own, because it is not designed for that. A bead of roofing cement over a crack is a temporary patch, not a permanent repair.
Polyurethane Sealant
The workhorse sealant for metal roofing and modern flashing applications. Polyurethane bonds to metal, wood, masonry, and most plastics. It remains flexible after curing, which is critical on metal roofs where thermal expansion moves panels by several millimetres per day in the Fraser Valley's temperature range.
- Paintable after full cure for a finished appearance
- 20 to 30 year rated lifespan with proper application
- UV-resistant formulations available for exposed applications
- Bonds effectively to both clean and slightly oxidized surfaces
We use polyurethane at metal panel seams, flashing terminations, and skylight perimeters where flexibility and long-term adhesion are more important than initial grab strength.
Silicone Sealant
The premium option for specialized applications. Silicone tolerates extreme temperatures from -40 degrees Celsius to above 150 degrees Celsius. It bonds exceptionally well to glass and smooth metals, making it the correct choice for skylight glazing and metal-to-glass transitions.
- Superior UV resistance of any common sealant type — 30+ year rated life
- Maintains full flexibility across the full temperature range seen in BC
- Not paintable, which limits its use on visible joints where colour matching matters
- More expensive per linear foot than polyurethane
- Difficult to remove cleanly if re-application is needed
Butyl Tape
A pressure-sensitive adhesive tape made from synthetic rubber. Butyl tape does not require curing time — it seals immediately upon compression between two surfaces. This makes it invaluable for standing seam metal roofing where seams must be sealed during panel installation, not after.
- Conforms to irregular surfaces and fills minor gaps
- Works effectively in cold weather when liquid sealants will not cure properly
- Maintains adhesion and flexibility for decades
- Used at standing seam laps, ridge cap overlaps, and flashing connections on metal roofs
The Mistakes We Tear Off Other Roofs and Find
After 500+ roofs across the Fraser Valley, Kory and Johnny have developed a grim catalogue of fastening failures discovered during tear-offs. These are not hypothetical problems from a textbook. These are the real reasons roofs fail a decade before they should.
Under-Nailing
The number one cause of premature shingle blow-off in the Fraser Valley. Some contractors use two or three nails per shingle instead of four because it saves time — roughly 30 minutes on a full roof. That half-hour shortcut means the homeowner's shingles are the first ones scattered across the lawn when a winter storm pushes through.
The Caulk-Instead-of-Flashing Disaster
This is the failure that angers us the most. A contractor encounters a chimney, skylight, or wall-to-roof transition that requires proper step flashing, counter flashing, or a cricket assembly. Instead of doing the metalwork, they run a fat bead of caulk along the joint and call it done.
Caulk degrades within three to five years from UV exposure and the constant thermal movement between dissimilar materials. It does not redirect water — it temporarily blocks it. When the caulk cracks, and it always cracks, water pours directly into wall cavities where it rots framing, grows mould, and causes thousands of dollars in hidden damage.
Fraser Roofing Ltd. does not use caulk as a substitute for flashing. Full stop. If a transition requires metal, it gets metal.
Wrong Screw Torque on Metal Panels
Walk any exposed-fastener metal roof installed by an inexperienced crew and you will find a pattern: some screws are torqued so tight the washers are visibly mushroomed and cracking, while others are loose enough that you can spin them by hand. Neither condition is watertight. Both will leak within five to ten years.
Consistent torque across hundreds of screws requires training and attention that most residential roofers never develop. It is, however, the foundational skill of boilermaking.
Why Fasteners Are the True Measure of a Roofer
You cannot evaluate a roofer by looking at the finished surface. Every roof looks good on day one. The craftsmanship that determines whether that roof lasts 15 years or 35 years is hidden under the shingles, behind the flashing, and inside the seams.
That is where fasteners live. And that is where Fraser Roofing Ltd.'s boilermaker heritage shows most clearly. No low nails. No bad cuts. No skipped fasteners. No caulk shortcuts. The same discipline that kept pressure vessels safe in the oil sands keeps Fraser Valley roofs watertight through decades of rain, wind, and snow.
When you hire Fraser Roofing Ltd., you are hiring two Red Seal tradesmen who treat every nail like it matters — because after 500+ roofs, we know that it does.
Need Expert Help With Your Roof?
Kory & Johnny have completed 500+ roofs across the Fraser Valley since 2026. Free inspections, honest estimates, no pressure.
(778) 860-4747Serving Hope, Agassiz, Chilliwack, Rosedale, Abbotsford & the entire Fraser Valley
Want to understand exactly how we fasten your roof? Call (778) 860-4747 — Kory and Johnny will walk you through it.