Ice Dam Prevention for Fraser Valley Roofs
Why mountain-corridor homes leak every winter, and the attic fixes that stop it
Last updated: February 2026
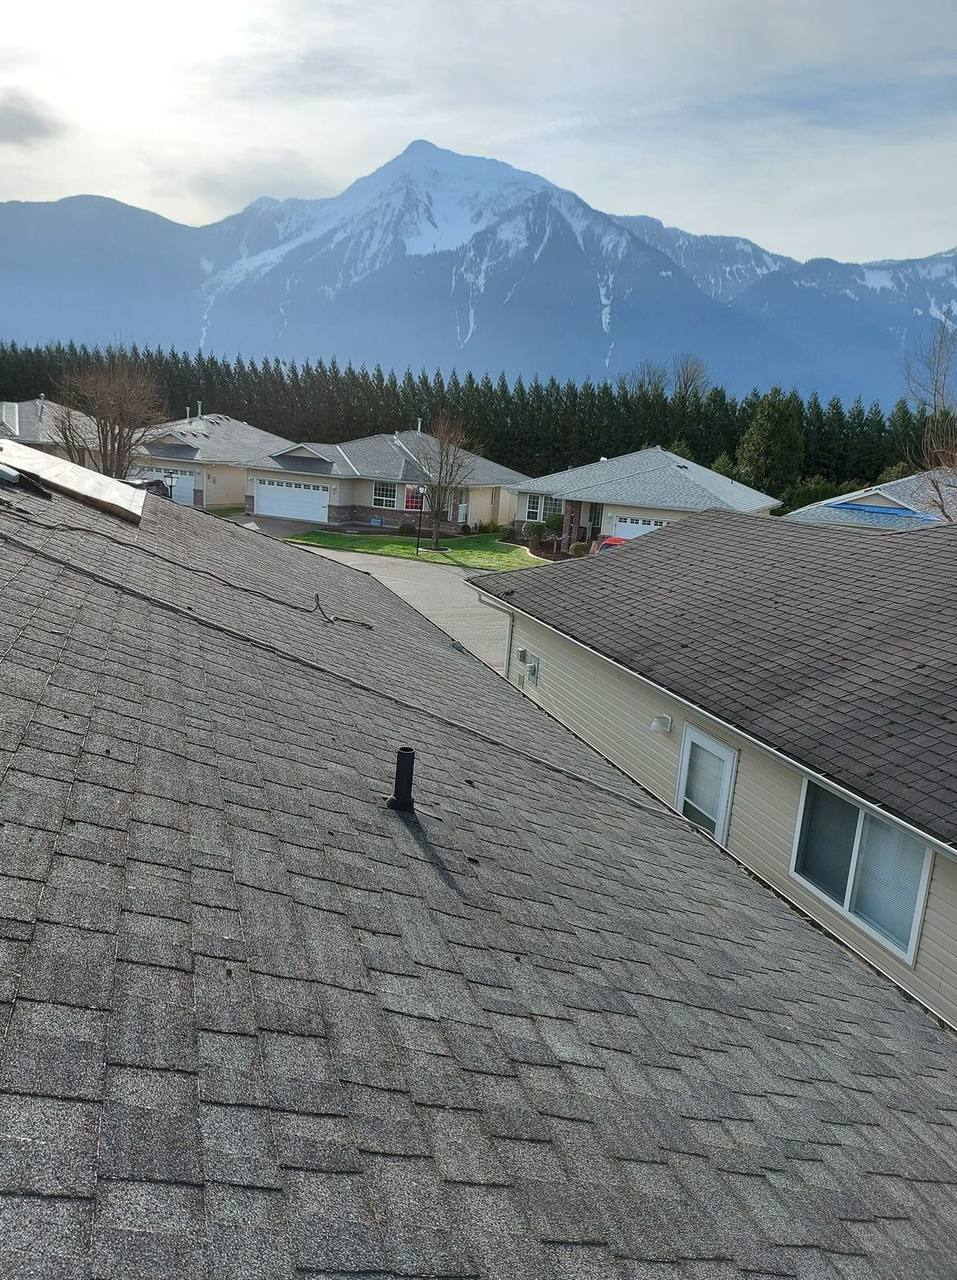
The Freeze-Thaw Problem No One Warns You About
You wake up to a wet stain spreading across the bedroom ceiling. There is no storm outside, just cold clear air. The culprit is sitting on your eaves: a thick ridge of ice that has been quietly backing water up under your shingles for days.
This is an ice dam, and if you live anywhere along the mountain corridor from Hope through Agassiz to Harrison Hot Springs, you are at higher risk than most BC homeowners. Kory and Johnny Peters at Fraser Roofing see this every winter. The calls start in late December and do not stop until March.
What Drives Ice Dam Formation in the Fraser Valley
Ice dams require three ingredients: snow on the roof, heat escaping from below, and cold eaves where meltwater refreezes. The Fraser Valley mountain corridor delivers all three in abundance.
Pacific Moisture Meets the Cascades
Wet Pacific air slams into the Coast and Cascade ranges and dumps heavy, moisture-laden snow. This is not the dry powder that prairie homeowners deal with. Fraser Valley snow is dense, a foot of it can weigh over 2,000 pounds spread across a standard roof. That density acts as an insulating blanket, trapping attic heat against the roof deck and accelerating the melt cycle underneath.
Rapid Freeze-Thaw Cycling
Hope Pass and the Harrison corridor experience some of the most dramatic daily temperature swings in the Lower Mainland. A January afternoon can hit 4 or 5 degrees above zero while the overnight low drops to minus 8. Every degree above freezing melts snow on the warmed roof deck. Every degree below freezing turns that meltwater into ice at the cold eaves. Repeat this cycle daily for two weeks and you have an ice dam measured in inches thick.
Older Construction Throughout the Valley
Many homes in Agassiz, Hope, and the surrounding communities were built in the 1960s through 1980s, when attic insulation standards were far below what we use today. These older homes might have R-12 to R-20 in the attic. Current standards call for R-50. That gap means massive heat loss through the ceiling, and every watt of that heat ends up warming the roof deck.
How an Ice Dam Actually Damages Your Roof
The ice ridge itself is not the problem. The damage comes from the liquid water pooled behind it. Here is the progression:
- Attic heat warms the roof deck above the living space. Snow touching the warmed deck melts from the bottom up, even when the air temperature is below freezing.
- Meltwater flows downhill toward the eaves. The eaves extend past the exterior wall, so there is no heated space below them. They stay at ambient outdoor temperature.
- Water refreezes at the cold eaves. Each melt-refreeze cycle adds another layer of ice. The ridge grows upward and outward.
- Standing water builds behind the dam. With nowhere to drain, meltwater pools. It finds gaps between shingles, works under flashings, and seeps through nail holes.
- Water enters the building envelope. It saturates insulation (destroying its R-value), soaks drywall, stains ceilings, and if undetected, feeds mold colonies inside wall cavities.
We have pulled apart ceilings in Harrison Hot Springs homes where the insulation was soaked through and mold had been growing behind the drywall for two or three winters. The homeowner thought they had a "small leak" and kept patching the ceiling stain. The actual repair cost five times what a proper ice dam prevention job would have been.
Fixing the Root Cause: Attic Heat Loss
Heat cables, salt-filled stockings, and roof raking all treat symptoms. The only permanent fix is stopping heat from reaching the roof deck. That means attic air sealing, insulation, and ventilation, in that order.
Step 1: Seal Every Air Bypass
Before touching insulation, every penetration through the ceiling plane needs to be sealed. This is the step most contractors skip, and it is the most important one.
- Recessed light cans: Older non-IC-rated cans have large gaps around them. Replace with IC-rated LED retrofits and seal the housing with fire-rated caulk.
- Plumbing and electrical penetrations: Every pipe, wire, and duct that passes through the ceiling is a heat highway. Seal with expanding foam or fire-stop caulk depending on the material.
- Chimney chases: Building code requires metal flashing and high-temperature caulk around chimneys. A one-inch gap around a chimney chase can leak as much heat as leaving a window open all winter.
- Attic hatch or pull-down stairs: Weatherstrip the perimeter and insulate the backside of the hatch. Pull-down stairs need an insulated cover box built over them.
- Ductwork joints: HVAC ducts running through the attic lose heat at every seam. Seal joints with mastic and insulate ducts to R-8 minimum.
Step 2: Bring Insulation to R-50
Once air leaks are sealed, insulation can do its job. The target is R-50 across the entire attic floor, including areas that are hard to reach near the eaves.
- Blown cellulose is our preferred material for most Fraser Valley attics. It settles into gaps, covers irregular framing, and provides excellent thermal performance per dollar.
- Fiberglass batts work well in clean, accessible attics with standard joist spacing. They are easier for homeowners to inspect visually.
- Spray foam is reserved for cathedral ceilings and situations where air sealing and insulation need to happen in the same step. It costs more but solves both problems at once.
Upgrading from R-20 to R-50 cuts heat loss through the ceiling by roughly 60 percent. That translates directly to less snow melting on the roof deck and a dramatically reduced chance of ice dam formation.
Step 3: Balance Attic Ventilation
Even a well-insulated attic will accumulate some heat from solar gain and residual conduction. Ventilation flushes that heat out, keeping the roof deck as close to outdoor temperature as possible.
The 1:300 Rule:
For every 300 square feet of attic floor, you need 1 square foot of net free ventilation area. Split it evenly: half at the soffits (intake) and half at the ridge (exhaust). An unbalanced system (too much exhaust or too little intake) creates dead zones where heat accumulates.
Baffles Are Not Optional:
Every rafter bay at the eaves needs a polystyrene or rigid cardboard baffle. Without baffles, insulation gets pushed into the soffit opening and blocks airflow entirely. We see this on nearly every older home we inspect in the valley. The homeowner paid for insulation, the installer blew it all the way to the eave edge, and now the soffit vents are completely blocked. No intake air, no ventilation, maximum ice dam risk.
Ice and Water Shield: Your Last Line of Defense
Even with perfect attic work, extreme weather events can still produce small ice formations. Ice and water shield, a self-adhering rubberized asphalt membrane installed directly to the roof deck at the eaves, prevents any backed-up water from entering the building.
Code Minimum vs. What We Install:
- BC Building Code minimum: 36 inches (3 feet) up from the eave edge in designated snow zones.
- What Fraser Roofing installs in Hope, Agassiz, and Harrison: 72 inches (6 feet) minimum. On steep roofs or homes with a history of ice dams, we extend to 8 feet.
The code minimum was written for average conditions. The mountain corridor does not experience average conditions. We have measured ice dams that extended 5 feet up a roof slope during the January 2024 cold snap. A 3-foot shield would have been completely overtopped.
Material Cost Comparison:
- 3-foot ice and water shield application: $300 to $500
- 6-foot ice and water shield application: $500 to $850
- Average ice dam water damage repair: $5,000 to $20,000
The extra $200 to $350 for extended coverage is the most cost-effective insurance available for mountain-corridor homeowners.
Emergency Response When a Dam Has Already Formed
If you are reading this with water already dripping through your ceiling, here is what to do and what to avoid.
Do This:
- Call a professional for steam removal. Low-pressure steam melts through the dam without damaging shingles or flashings. Expect to pay $400 to $900 depending on severity and access.
- Use a roof rake from the ground. Pull snow off the first 4 to 6 feet of roof, working from the eave upward. Leave an inch of snow on the surface to protect shingle granules. This removes the fuel supply for further dam growth.
- Place containers under active leaks and move furniture. Document the damage with photos for your insurance claim.
Do Not Do This:
- Do not pour hot water on the ice. It refreezes almost immediately, adding to the dam.
- Do not chop at the ice with tools. Hammers, axes, and chisels gouge shingles and puncture flashings, creating new leak points.
- Do not spread rock salt on the roof. Sodium chloride corrodes aluminum flashings and degrades asphalt shingle binders. Calcium chloride is less corrosive but still stains siding and damages vegetation below.
- Do not climb onto an icy roof. Falls from ice-covered roofs are the leading cause of winter roofing injuries in BC. Leave roof access to professionals with proper fall protection.
Heat Cables: When They Make Sense
Electric heat cables zigzagged along eaves are a common band-aid solution. They work by melting channels through the ice, allowing water to drain instead of pooling.
Appropriate Uses:
- Heritage homes where attic insulation upgrades are restricted by heritage designation or structural limitations.
- Cathedral ceiling sections where there is no accessible attic space to insulate.
- Temporary protection while waiting for a full roof replacement or attic upgrade.
Limitations:
- Operating cost of $50 to $175 per winter depending on cable length and electricity rates.
- Cables must be activated before ice forms. Once a solid dam is in place, heat cables cannot melt through it fast enough to prevent leaks.
- Cables degrade over time and need replacement every 8 to 12 years.
- They treat the symptom, not the cause. The attic is still losing heat.
Metal Roofing and Ice Dams
Standing seam and corrugated metal roofs shed snow before it can accumulate and begin the melt-refreeze cycle. For homeowners in the mountain corridor who are already due for a roof replacement, metal is worth serious consideration.
- Snow slides off the smooth painted surface within days of snowfall, removing the raw material for ice dams.
- Snow guards control where and when snow releases, preventing dangerous avalanches over doorways and walkways.
- Combined with proper attic work, a metal roof effectively eliminates ice dam risk for the life of the roof.
Metal roofing for a typical Fraser Valley home runs $25,000 to $40,000 installed. It is a significant investment, but with a 50-year lifespan and near-zero ice dam maintenance, the long-term economics are strong for mountain-area properties.
What a Full Ice Dam Prevention Job Looks Like
When Fraser Roofing takes on an ice dam prevention project, here is the scope of work:
- Attic inspection: We check current insulation depth and condition, identify every air bypass, assess ventilation balance, and photograph problem areas for the homeowner.
- Air sealing: Every penetration gets sealed with the appropriate material, fire-rated caulk, expanding foam, metal flashing, or mastic depending on the situation.
- Insulation upgrade: We bring the entire attic floor to R-50, installing baffles in every rafter bay first to protect soffit airflow.
- Ventilation corrections: We clear blocked soffits, add vents where intake or exhaust is inadequate, and verify the 1:300 balance.
- Roof assessment: If a roof replacement is coming in the next few years, we discuss extended ice and water shield, metal roofing options, and snow guard placement.
Typical Investment:
- Air sealing and insulation upgrade: $2,500 to $5,500
- Ventilation corrections: $400 to $1,200
- Annual energy savings from reduced heat loss: $300 to $700
- Payback period: 2 to 4 years when you factor in avoided damage claims
Kory and Johnny have worked in extreme cold conditions since their years as Red Seal Boilermakers in the oil sands. They understand how heat moves through structures, and they bring that knowledge to every attic they work in. If your home has ice dam problems, call Fraser Roofing for an honest assessment of what it will take to fix them permanently.
Want someone to look at your roof?
Kory & Johnny have roofed homes across the Fraser Valley since 2016. Free inspections, honest estimates, no pressure.
604-728-0146Text UsEmailServing Hope, Agassiz, Chilliwack, Rosedale, Abbotsford & the entire Fraser Valley
Ice dams threatening your roof? Call Fraser Roofing at 604-728-0146 for a free attic and roof assessment. Serving the Fraser Valley from Hope to Abbotsford.
Related Guides
Frequently Asked Questions
Why are ice dams so common in the Fraser Valley mountain corridor?
The corridor from Hope through Agassiz and Harrison experiences rapid freeze-thaw cycles. Daytime temperatures can climb above zero while overnight lows plunge well below freezing. This constant melt-refreeze pattern, combined with heavy wet snowfall from Pacific moisture hitting the Cascades, creates ideal ice dam conditions that flat-terrain communities rarely face.
Does ice and water shield alone prevent ice dam leaks?
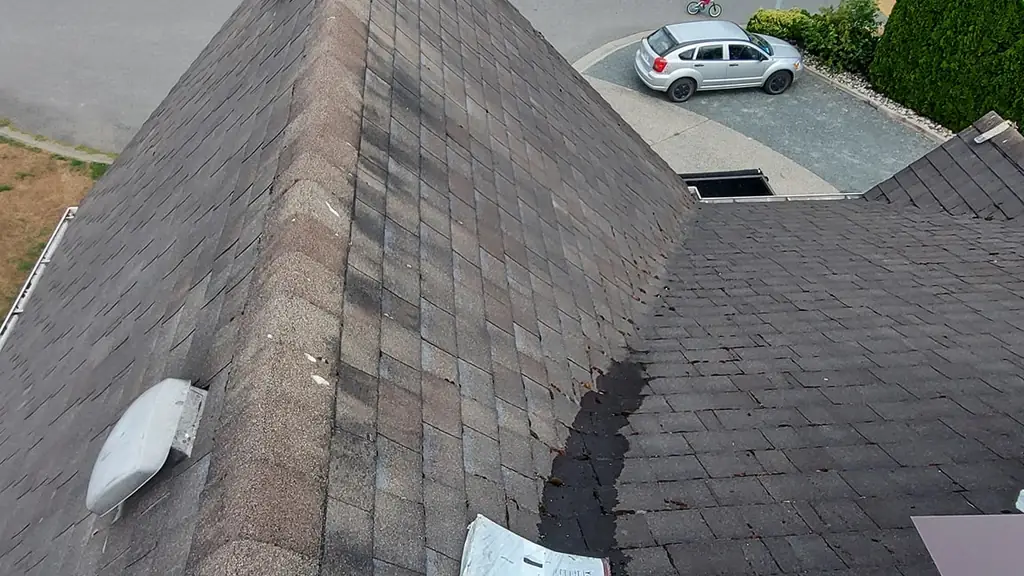
Ice and water shield is a critical backup layer, but it does not prevent ice dams from forming. It prevents leaks when water backs up behind an existing dam. The real fix is reducing attic heat loss through insulation and air sealing, combined with proper ventilation. We install 6 feet of ice and water shield on mountain-area homes instead of the code minimum of 3 feet, because severe dams can push water much further up the roof.
Can I use rock salt or calcium chloride to melt ice dams?
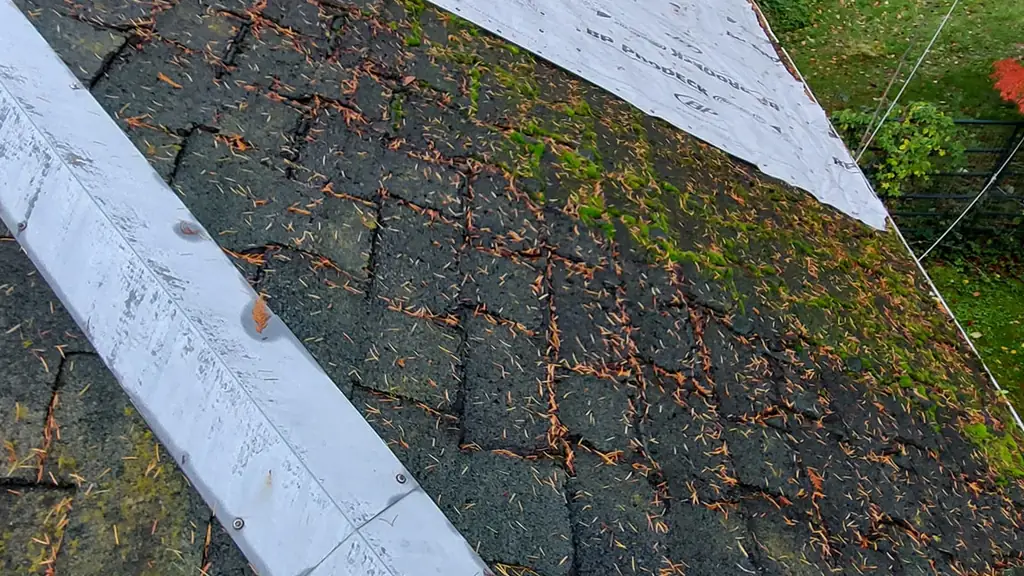
This is a common mistake that causes more damage than the ice dam itself. Rock salt corrodes metal flashings and metal roof components. Calcium chloride is less corrosive but still degrades shingle granules and stains siding. The safest emergency approach is professional low-pressure steam removal, or using a roof rake to clear snow before dams form.
How much does it cost to fix the root cause of ice dams?
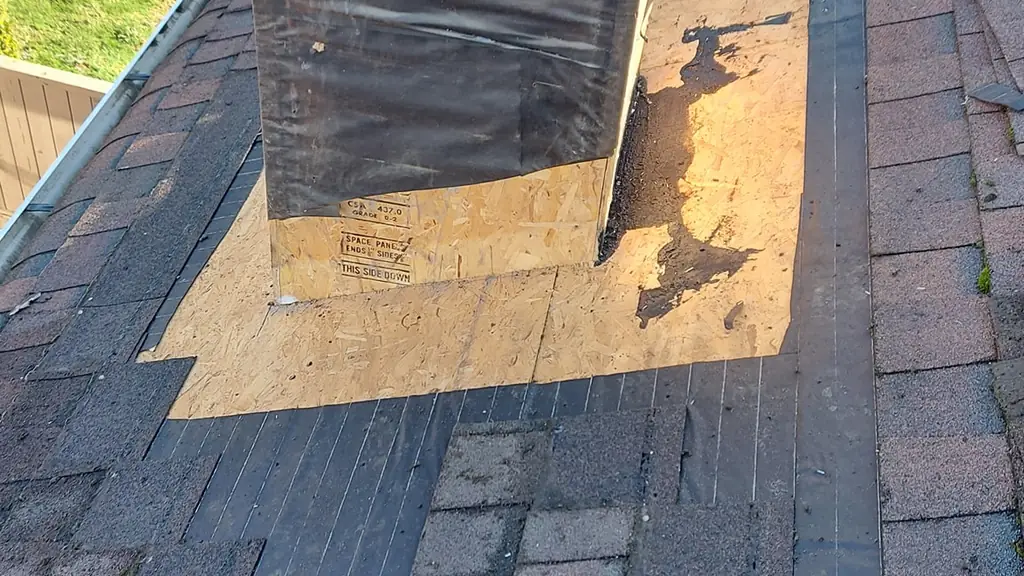
A full attic insulation and ventilation upgrade for a typical Fraser Valley home runs $2,500 to $5,500. That includes air sealing penetrations, bringing insulation up to R-50, installing proper baffles, and balancing soffit-to-ridge airflow. Compared to a single ice dam water damage claim of $5,000 to $20,000, the upgrade pays for itself the first winter it prevents a leak.
Will a metal roof eliminate ice dams completely?
Metal roofs dramatically reduce ice dam problems because snow slides off the smooth surface before it can melt and refreeze. However, they are not a guarantee in extreme conditions. Homes near Hope Pass with poor attic insulation can still develop small ice formations at transition points. The best approach combines proper attic work with the roofing material so the system works together.
$1,000 off applies to full roof replacements of 3,000 sq ft or more. Cannot be combined with other offers or previously placed orders. Not valid on partial jobs, repairs, or insurance claims.