I got the call at 1:47 a.m. on a Tuesday in November 2023. A homeowner in Kent, just outside Agassiz, had a branch punch through her roof during a windstorm. Rain was pouring into her daughter's bedroom. She had already moved the kid to the couch and was holding a garbage bag against the ceiling. I told her to stop — I was on my way.
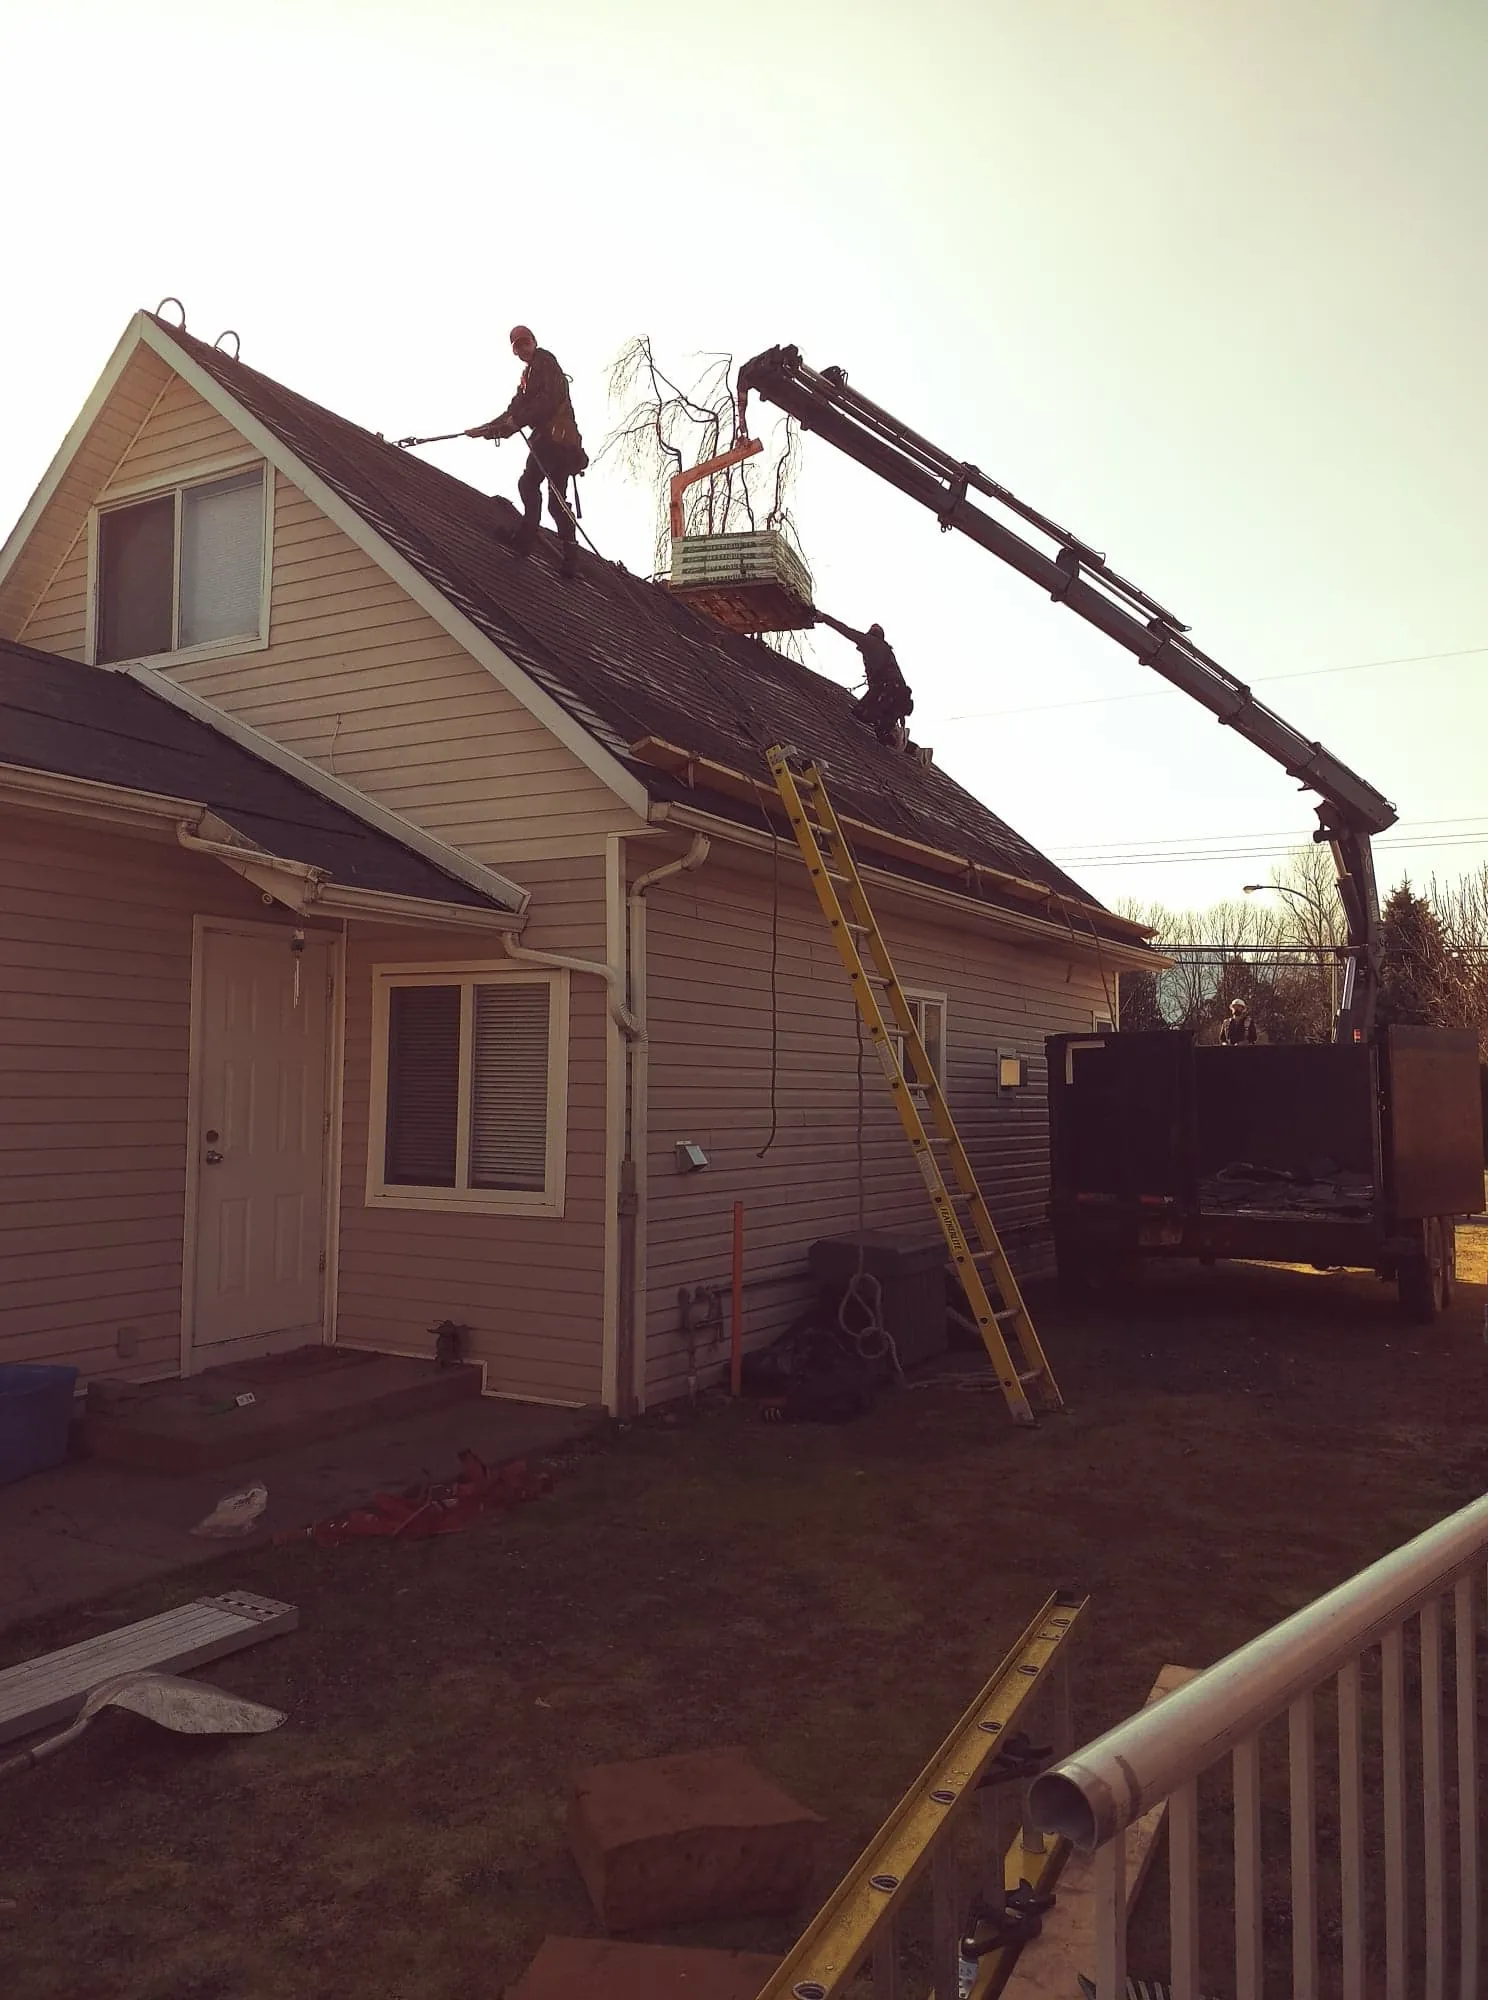
That is what emergency roof work actually looks like in the Fraser Valley. It is not a sunny afternoon with a clipboard. It is dark, it is raining sideways, and someone's home is filling with water. Johnny and I have done enough of these calls over 500+ roofs since founding Fraser Roofing Ltd. in 2026 that we have a system. This article is that system — everything we know about keeping water out of your house until the permanent fix happens.
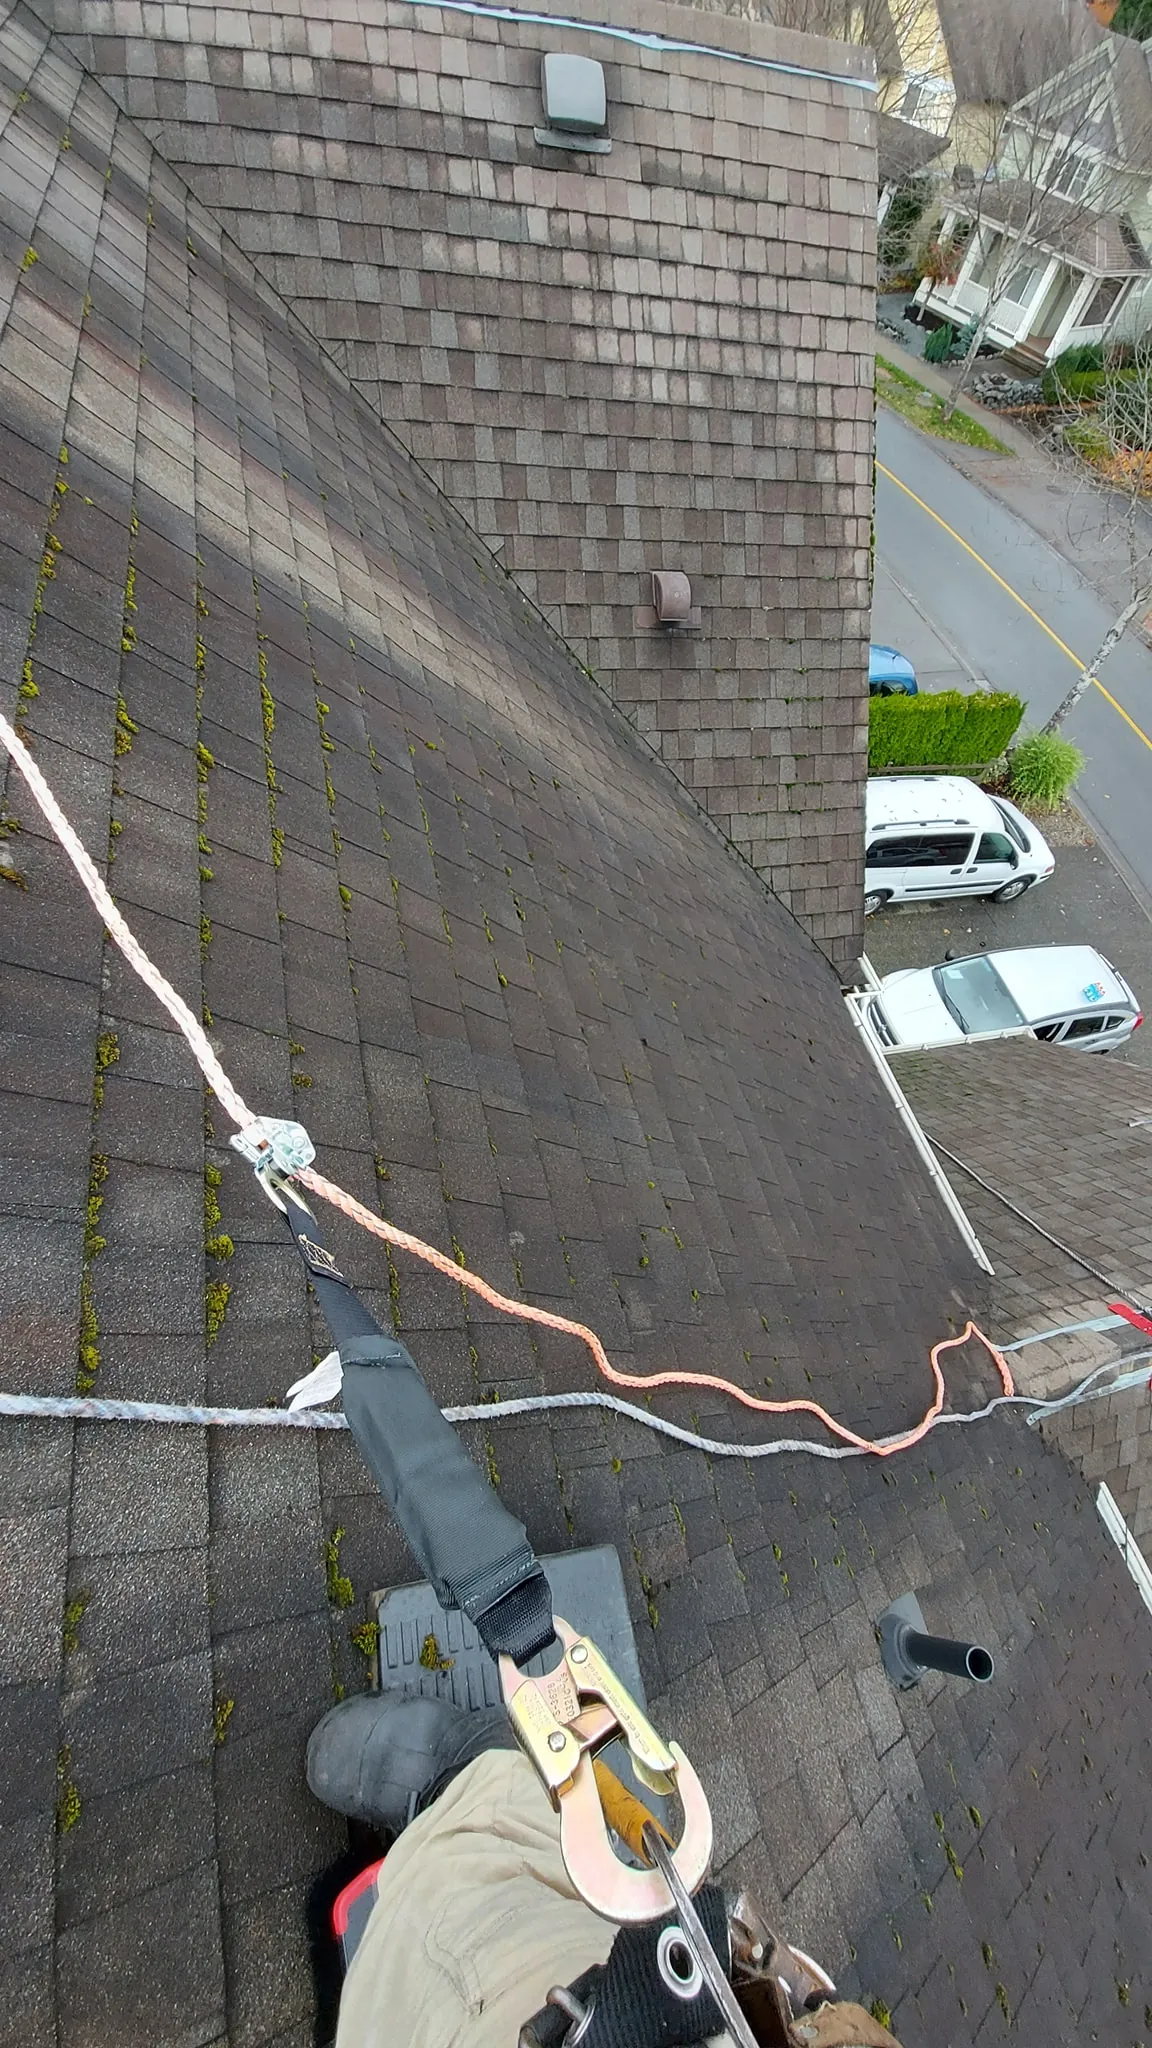
Safety comes before property. Never climb onto a wet, damaged, or steep roof without proper fall protection. A tarp can be replaced. You cannot. If conditions are dangerous, work from inside the attic or call (778) 860-4747 and we will handle it.
Why the Fraser Valley Is Different: Rain That Attacks Sideways
Most tarping guides are written for places that get summer thunderstorms — a burst of rain, then sunshine. The Fraser Valley is nothing like that. From October through March, Agassiz averages over 200mm of rain per month. Hope and Harrison get even more. The rain does not fall straight down — it rides Pacific fronts that push it horizontally into every gap, seam, and opening on your roof.
This means standard tarping advice fails here. A tarp that would protect a roof in Ontario for months can channel water directly into your attic in Agassiz because the wind drives rain underneath from the side. Everything we do for temporary protection accounts for this lateral water entry.
The Right Tarp: What We Actually Use on Fraser Valley Roofs
- Minimum 10-mil heavy-duty poly tarp — the thin blue tarps from hardware stores shred in Fraser Valley wind within days
- Silver or white reflective tarps hold up better than blue ones and resist UV degradation during extended waits
- Size matters: measure the damaged area, then add 8 feet in every direction — you need 4 feet of overlap minimum on all sides
- Grommets every 18 inches along the edge — if your tarp has grommets every 3 feet, it is not heavy-duty enough
- We keep pre-cut tarps in 10x12, 12x16, and 16x20 on our trucks at all times for emergency calls across the valley
How We Secure a Tarp Without Destroying Your Roof
This is where most DIY tarping goes wrong. I have seen homeowners nail tarps to their roof deck, screw 2x4s through shingles, even duct-tape tarps to fascia board. Every single fastener hole becomes a new leak point when the tarp comes off. Here is what we do instead.
- Sandbags along the entire perimeter, spaced every 2 feet — we fill them on-site with pea gravel, not sand, because gravel drains and does not turn into a frozen brick in January
- The tarp runs OVER the ridge cap and down the other side at least 12 inches — this prevents wind from getting under the top edge
- On steep slopes, we use rope tied through grommets and anchored to weighted boards at the eave line
- Never nail, screw, or staple through the tarp or through intact roofing material
- Fold the leading edge under and weight it — a clean fold sheds water better than a raw edge
In the Alberta oil sands, Kory and Johnny learned to tarp industrial equipment in -40 wind as Red Seal Boilermakers. That discipline translates directly to residential emergency work — everything gets tied off, weighted, and double-checked. We do not leave until we are confident the tarp will hold through the next storm cycle.
Working From Inside: When the Roof Is Too Dangerous to Walk
Some of the worst calls we get are steep-slope roofs in active storms. A 10:12 pitch covered in rain is genuinely life-threatening to walk on without harness systems. When exterior access is not safe, we work from the attic.
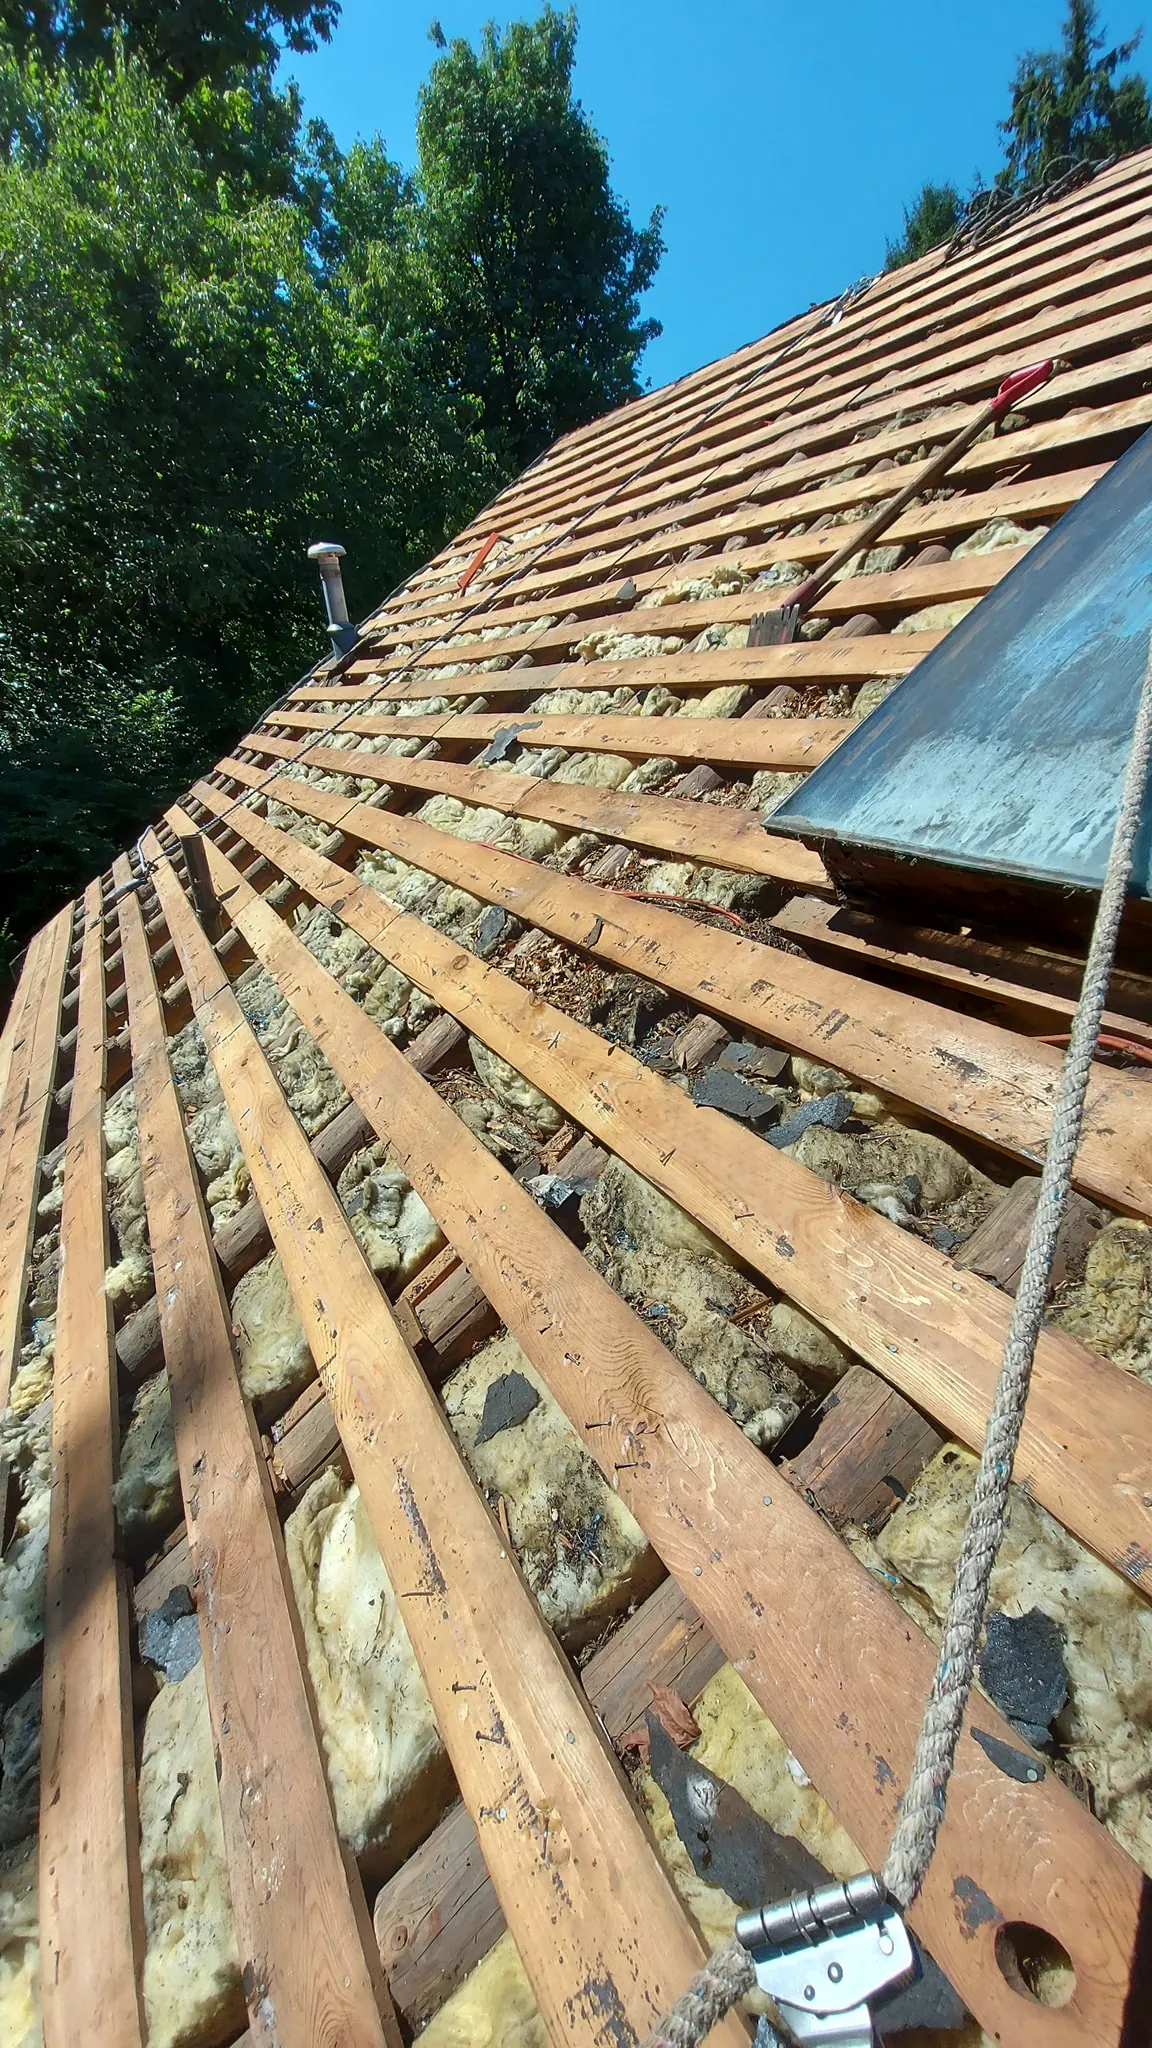
- Locate the leak source from inside — look for daylight, dripping, or wet decking
- Lay heavy-gauge plastic sheeting (6-mil minimum) across the attic floor joists to funnel water toward a single collection point
- Place 5-gallon buckets at the low point — not directly under the drip, but where the plastic channels the water
- Apply roofing cement or Henry's Wet Patch to visible holes in the decking as a temporary seal — this buys hours, not days
- Mark every leak location with spray paint on the underside of the decking so the repair crew can find them from outside
The Ceiling Bulge Problem: Why You Should Never Poke It
When water pools above drywall, the ceiling sags into a visible bulge. Every instinct says to poke a hole and drain it into a bucket. Do not do this. The moment you puncture the drywall, water can release all at once — 20, 30, even 50 gallons cascading down. I have seen it soak through a subfloor and damage the room below in seconds.
Instead, place a large bin directly under the bulge and let it drip on its own. If the bulge is growing rapidly, evacuate the room and call us. We have the equipment to control the release safely.
How Long Your Temporary Fix Will Hold in Fraser Valley Rain
A properly installed tarp with sandbag perimeter will hold 4 to 8 weeks in normal Fraser Valley rain. During the sustained November and December storm cycles with 80+ km/h gusts, expect 2 to 3 weeks before the tarp needs re-securing. We check on every tarp we install and re-tension as needed at no extra charge until the permanent repair is complete.
Interior attic measures — plastic sheeting and roofing cement — are shorter-term. They buy you 24 to 72 hours in active rain. They are stopgaps, not solutions. The goal is always to get a proper tarp on the exterior as soon as conditions allow safe roof access.
When Temporary Protection Is Not Enough: Call Immediately
- Structural damage — sagging rafters, cracked trusses, or visible deflection in the roof deck
- Large openings — tree impacts, fallen branches, or missing sections bigger than 4 feet across
- Active electrical hazard — water near wiring, breaker panels, or light fixtures
- Multiple leak points across different areas of the roof
- Any situation where you feel unsafe — trust that instinct
What to Document for Insurance Before We Arrive
- Photograph the damage from multiple angles, including wide shots showing context
- Video the active leak — adjusters respond to seeing water entering the home in real time
- Save any debris that caused the damage (branches, fallen objects) — do not clean up until photos are taken
- Note the exact date, time, and weather conditions when damage occurred
- Keep receipts for any temporary materials you purchase (tarps, buckets, plastic sheeting) — these are reimbursable
Fraser Roofing Ltd. offers emergency tarping and temporary protection across the Fraser Valley from Hope to Abbotsford. Our tarping fee is fully credited toward your permanent repair, and we help document everything for your insurance claim. Call (778) 860-4747 — we answer after hours because we have been the homeowner holding the garbage bag against the ceiling, and nobody should have to wait until morning.
Last updated: February 2026